Table of Contents
The Name of the Light
The direction of light such as forward light, side light, and backlight is divided according to the relative position of the photographer’s viewpoint (camera position) and the light source.
The direction in which the light hits the subject is best determined from the photographer’s viewpoint (camera position), rather than from the subject. Assume that the subject is in the center of the horizontal clock, and the camera’s viewpoint is at 6 o’clock on the clock. This is the basic condition, and we will explain the direction of the light.
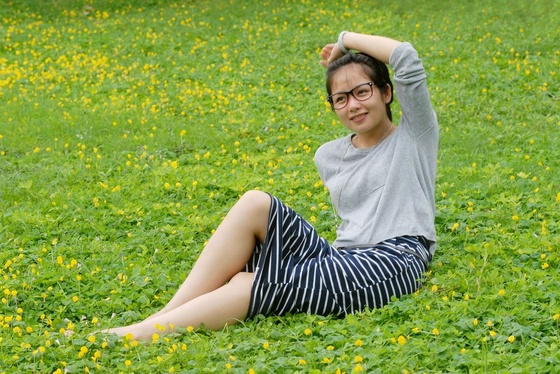
Forward Light
Also known as front light, flat light. The light is directed from the same direction as the camera lens (optical axis) relative to the subject. Simply put, the camera is in the same (or close) direction as the light that hits the subject. Generally, the angle between the camera and the light source and the subject is within 15 degrees.
The forward light makes the light received by the subject relatively uniform and the light receiving area is large (the utilization rate of light is high). The projection of the subject falls behind, and the shape appears flat and the light ratio is small. The surface shape and texture of the scene are mostly hidden by the frontal light. Therefore, the picture contrast is small, the layers are not rich enough, and the three-dimensional sense is lacking.
Note:
There are two concepts involved here.
- Texture – is the characteristic of the object formed by the subtle undulations on the surface of the object.
- Light ratio – refers to the ratio of light and dark caused by different parts of the same scene. Contrast is also formed by light. Unlike contrast, light ratio specifies the same scene, while contrast refers generally.
 Example: Overcast light conditions are scattered light without shadows, which can also be considered frontal soft light. Because this light has no directionality.Due to the soft light on the front, 1. The formation of shadows can be hidden or eliminated. We can use it to shoot scenes without shadows, convex and concave surfaces that don’t need attention, and scenes that don’t need to be modeled. For example: in portrait photography, this light can mask the wrinkles and sagging of the skin of the characters, making the characters look younger. 2. Use as auxiliary light to eliminate unnecessary shadows, reduce light contrast, etc.Note: It should be noted that the front light will produce light reflection spots on the smooth surface of the subject. Of course, in photography, flare can be eliminated or utilized)
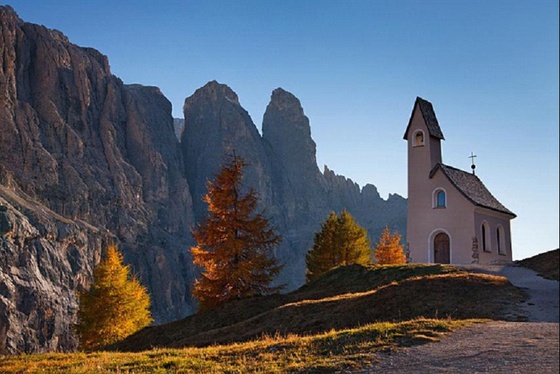
The picture taken with the smooth light mainly depends on the natural form of the subject, because of the picture level, tone and contrast presented by its color and natural contrast (different reflectivity). This light method is also called flat light method.

Legend: A building shot on a cloudy day, there is no light contrast, the picture effect depends on the natural state of the subject
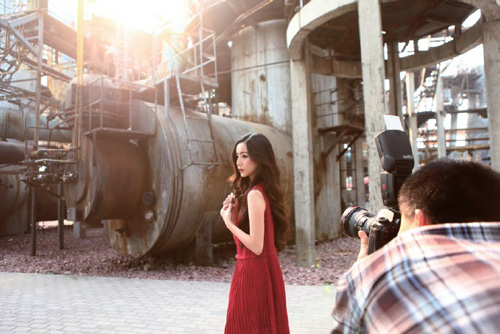
Side Light
Also called edge light. It is the light that hits the subject from both sides of the camera. Including side light, front side light, side light. If it reflects the angle of the light, it can be divided into flat side light, upside light, and downside light.
The position of the side light varies a lot. The use of side light can well express the subject’s level, line structure, sense of space, three-dimensional sense and contour lines, so that the color tone (tone) of the picture changes richly. At the same time, the side light makes the projection of the subject fall within the picture, which is conducive to the composition, or uses the projection to create a certain artistic conception of the picture.
Side-lit subjects (especially hard light) with convex and concave surfaces will also look good. For example: the surface of knitted fabric, leather, stone fast, embossed, wood grain and similar bas-relief materials can show their surface characteristics. If you use a lower angle side light, the shadow of the subject will be exaggerated. The photographer can use it flexibly according to the creative intention.
Side lights are mostly used as key lights in photographic applications, and sometimes as decorative lights.
A comparison shot of the frontal light effect of this example was not taken here. We can imagine, if the front light is used as the key light, what will the effect be? Or take a test shot to compare the effects.
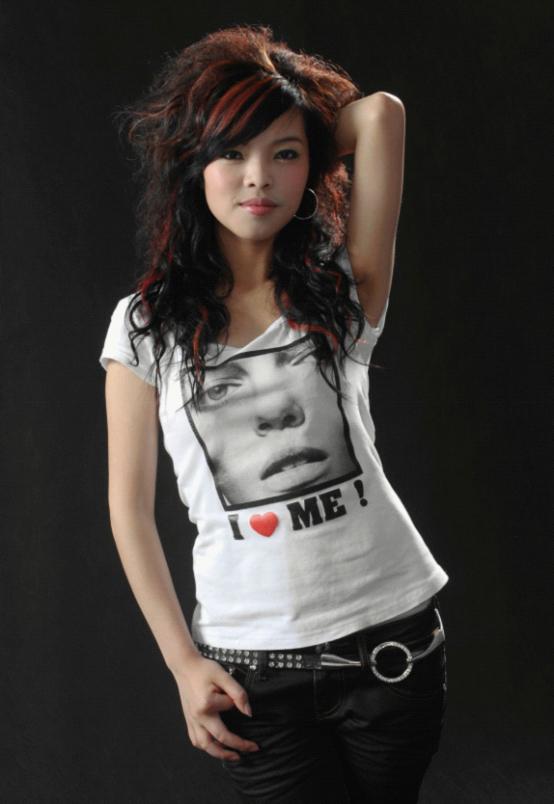
Backlight
Refers to the light projected from behind the subject in the direction opposite to the camera lens. Including positive backlight (also known as full backlight), side backlight, 3/4 backlight, side backlight. Due to different angles, there are high (top) backlighting and low backlighting. The utilization of light is very low, and most of the light is ineffective.
Structural details of backlit subjects are obscured. The surrounding edges form a lighter line, and the outline stands out to separate it from the background. It can better express the sense of space of the subject, so that the picture has a sense of depth and three-dimensionality.
Backlight can make the model produce special artistic effects such as silhouette, glare and flare. For transparent or translucent subjects, the lightness and saturation of the color can be improved. Objects exhibit a beautiful luster, better transparency and texture.
Bottom example: side backlighting.
There is still discussion on backlighting in the “Use of Light” later, so I won’t talk about it here.
Conclusion
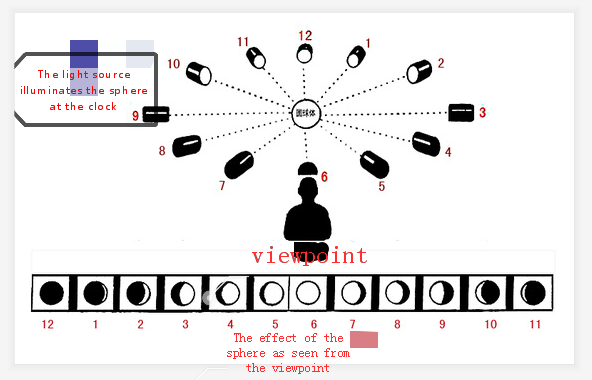
Viewed from a fixed viewpoint (camera position), the appearance of the subject changes as the light direction changes.
We take the horizontal clock as the plane, the viewpoint (camera position) is 6 o’clock. And the subject is located in the center of the clock. When the lamp position is gradually moved to each time position on both sides of the viewpoint, the appearance of the sphere changes and the resulting light effect.
If we use a light source to illuminate the subject sphere at a fixed point, and we change the viewpoint (camera position), it is easy to know the visual effect of the sphere illuminated by the light at each hour position.
(To Be Contiuned)