Whether you are a beginner in photography or have been shooting for many years, portrait photography is always a deep learning. It may seem simple, but there are actually a lot of tricks in it. After taking a long time, you will find that many photos are similar, but the model has changed. So what skills can beginners learn to take portraits? Check out these 10 quick portrait tips!
Table of Contents
(1) Flexible Use of Lens Focal Length
Whether it is wide-angle, telephoto, or standard focal length, each has its own characteristics. When shooting portraits, you can think about what focal length lenses can produce different effects. Even if the model is the same person and the composition changes, the effect of the shot is very different!
Characteristics of various focal lengths
Telephoto: It can compress the background and reduce the sense of space between the background and the characters. Because the distance between the lens and the model is far, the model who is not used to shooting will also appear more natural. Of course, the telephoto can also make it easier to shoot with a shallow depth of field effect.
Standard focal length: Standard focal length such as 50mm can produce more “realistic and natural” works. If you use a prime lens, the lens distortion is smaller, and the focal length will not be too long or too short, which is very suitable for street snapshots or when it is inconvenient to change lenses.
Wide-angle: Not only can you “lead people with a scene”, so that the model has the effect of being in the scene, the wide-angle lens also has the element of lens deformation, which can make the model more slender. But be careful not to make the photo too weird!
(2) Find Angles That Are Not Eye Level
When taking landscape photos, we often say that we need to find a special angle to make the photo more varied. In fact, the same is true for portraits, don’t just shoot at eye level. Try shooting from above, from below, or from the side. In this way, the same model can also bring different feelings.
(3) Try the “Off-camera Flash” Effect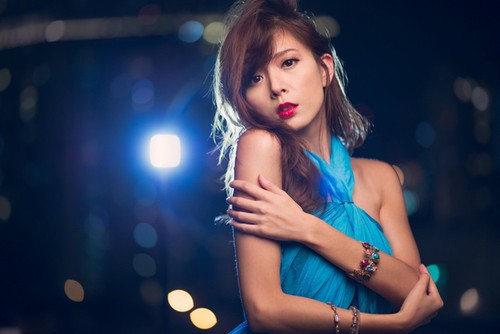
“Off-camera flash” is an advanced science. It also requires certain skills in distance, angle, flash distance, etc. Beginners need a little more practice and experimentation.
(4) Use the “Calendering”
Technique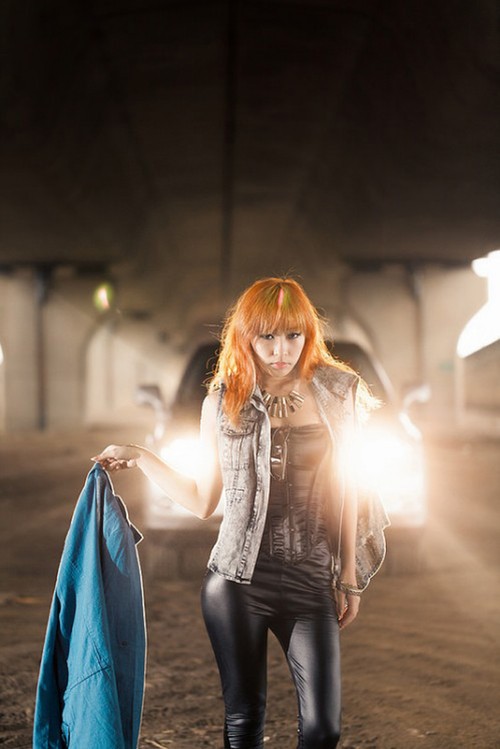
Calendering is when we are shooting in the sun and the sun is full, then we can adjust the camera to M-Mode, reduce the height of the background by speeding up the shutter, and then use a powerful flash or external light to illuminate the subject ( prospect). In this way, the background color is not only very rich, but also the characters will be very prominent like “hair shining”.
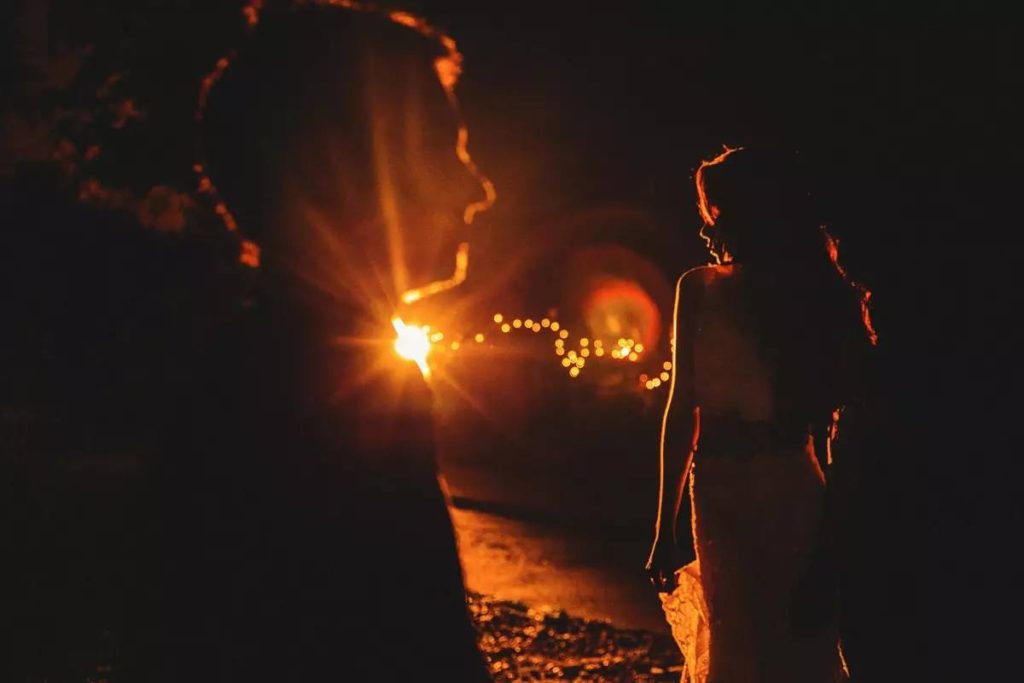
(5) Look for Backlight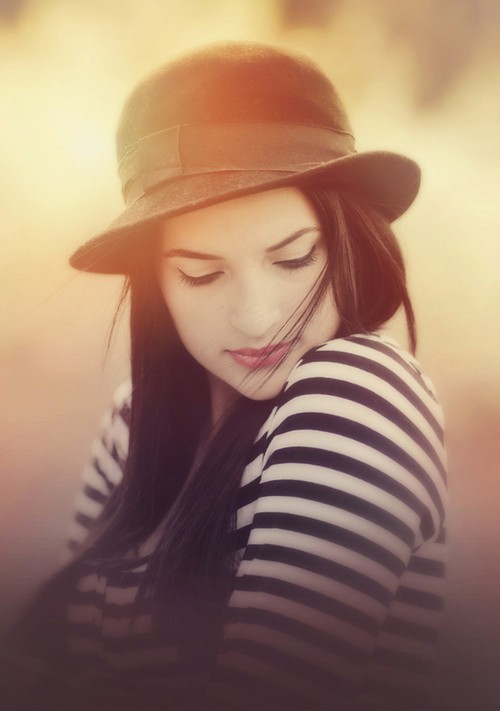
Backlighting is a great portrait photography trick at sunrise and sunset. Just point the camera in the direction of the sun and shoot with natural light. Increase the overall brightness when needed, and you’ll get warm, sensual photos! If it’s taken at sunset and dusk, the model’s hair will be shimmering gold, very beautiful!
(6) Using Silhouettes and Reflections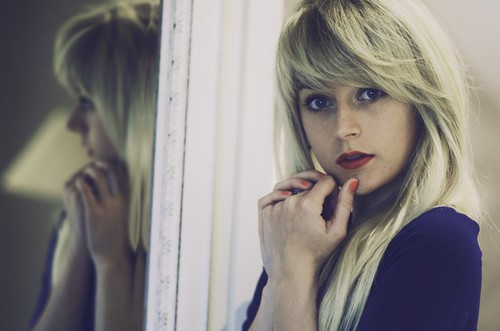
Silhouettes can also be tried together when shooting against the light. The main thing to note is that the model’s movements must be clear in order to effectively display the black outline. And remember to focus on the model to make the subject clearer and more defined.
The reflection technique is very interesting. You can make good use of objects that reflect light, such as glass, mirrors, water surfaces, and metals, so that the model’s face or scene can be reflected in the photo, forming a symmetrical composition. Also remember to ask the model not to look at the camera, so that the photo will be more beautiful!
(7) Shoot Through Things and Use the foreground as a “Picture Frame”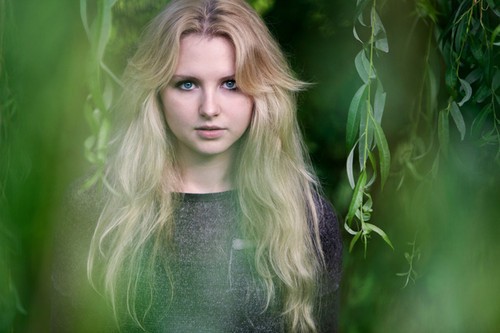
This trick is very common. It is to let the camera face and lean against some objects, which can be flowers, leaves, cups, columns, etc. and then shoot. Because the object is so close to the shot, it is often blurred by the shallow depth of field, which allows it to be “foreground” and used as a “frame” to accentuate the portrait. You’ll find that many great portrait photos use a similar technique.
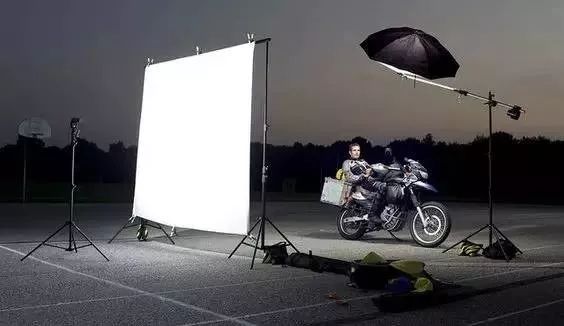
(8) LED Lights Instead of Flashing Lights
Have you seen the LED lighting used for video shooting? Now many brands have launched similar products, which are getting cheaper and cheaper. If you are new to photography, you may not be familiar with external flash. At this time, you can choose to use this LED light. The advantage is that you can instantly see the effect of the light on the model, making it easier for you to shoot the work you have in mind. However, its light source intensity is limited, and it is not suitable for long-distance or calendering purposes.
(9) Add Color to the Light Source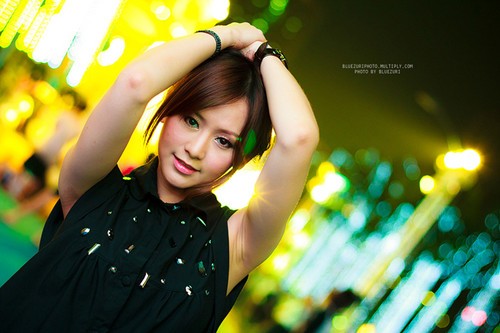
Many new photographers are also afraid to use flash. One of the main reasons is that portraits can look weird when flash is used. Much of this question is:
(1) Because the light output is too strong, it overwhelms the natural light of the background.
(2) The color of the flash output is different from the live light. For example, the scene light is warm, and the flash is generally 5500K in the middle color temperature. After using the flash, the color of the subject received by the light is not the same as the scene light, and there will be a discordant situation and become strange.
The solution is to add colored cellophane or the original color filter to the flash to change the color of the flash output.
(10) Shooting Close-ups
Try to find the most beautiful part of the model, and then take a close-up, so you can take a better photo.
The Law of Light Control in Portrait Photography
If you ask professional portrait photographers, what are the most important tips for portrait photography? Everyone will tell you that it must be the use of light. The light control rules for portrait photography seem complicated, but if you already have a little foundation, you can deepen your choice of “soft light and hard light”, “light source position”, “light intensity”, “color temperature” 4 kinds An understanding of the effects of elements and the principles behind them.
1. The wider the light source, the softer the light.
A broad light source can soften shadows, reduce contrast, and soften subject textures. Narrower light sources do the opposite. The principle behind this is that the wider the light source, the more directions the light hitting the object spreads, which makes the scene overall brighter and reduces the intensity of the shadows. And vice versa.
2. The closer the light source, the softer the light
The principle is that when the light source is closer to the subject, for the subject, the source of the light is larger and more scattered. When the light source is farther away from the subject, the light source is relatively smaller and narrower. Take sunlight as an example. The diameter of the sun is 109 times that of the earth, so it should be a very broad light source. But the sun is 93 million kilometers from Earth, making up only a tiny fraction of our sky. So when the sun shines directly on an object on a sunny day, the light is hard. And vice versa.
3. The diffuser can make the light wider and softer
Take clouds as an example. When clouds block the sunlight, the shadow of the illuminated object becomes less obvious. And when the clouds get a little thicker, the shadows even disappear. Clouds and fog will cause the light to be scattered and spread around. On cloudy and foggy days, the light source becomes very broad and unfocused, and the moisture in the sky acts like a giant softbox softening the sunlight.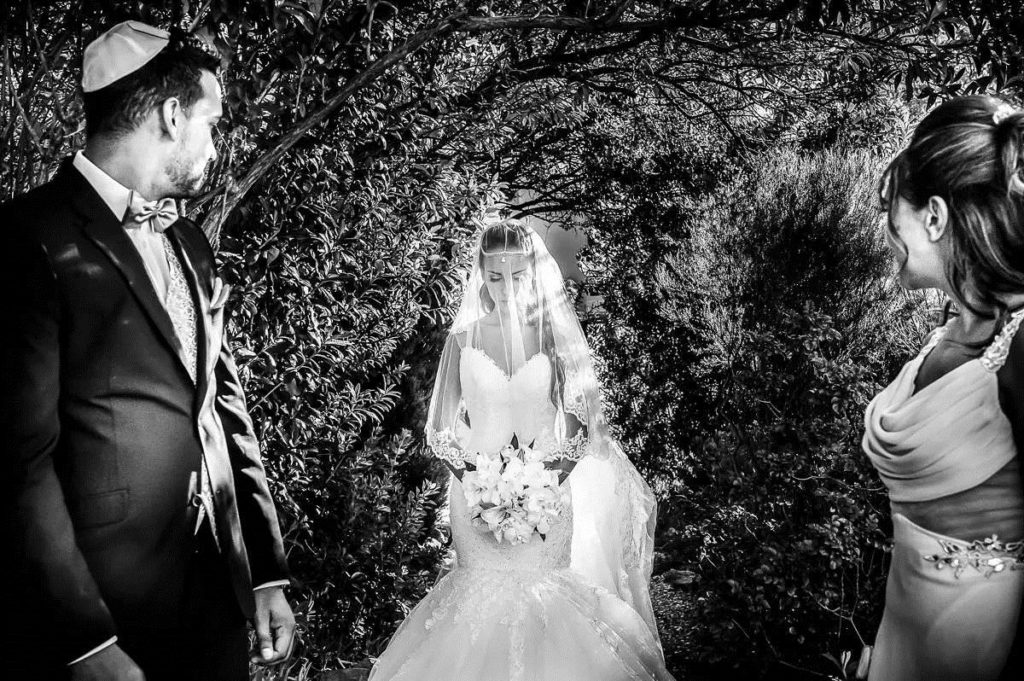
4. Use reflections to soften the light
If a very narrow beam of light is projected on a larger, less reflective surface (such as a frosted glass surface, such as a wall, a plastic reflector), the light will be scattered during the reflection process. wider area. However, if you use some highly reflective materials, such as aluminum paper or mirrors, after the light is reflected, it will still be very concentrated and cannot soften.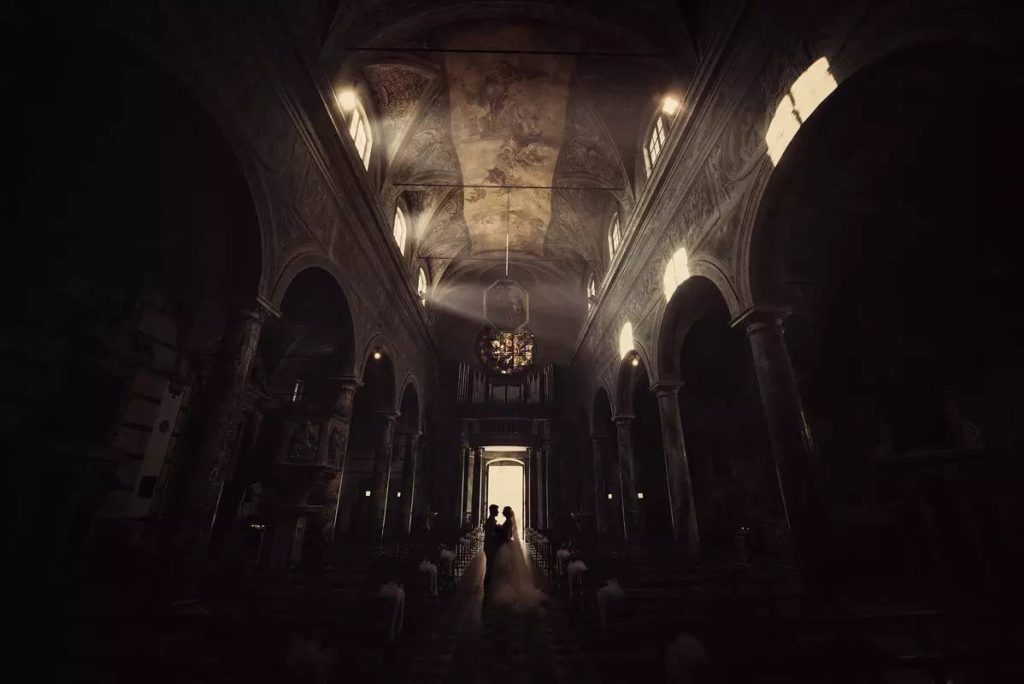
5. The farther the light source is, the darker the subject will be
This is common sense. Light decays rapidly as the light source moves away. And if the light is refracted, its travel distance will also increase, and the reflected light will not be as strong as direct light.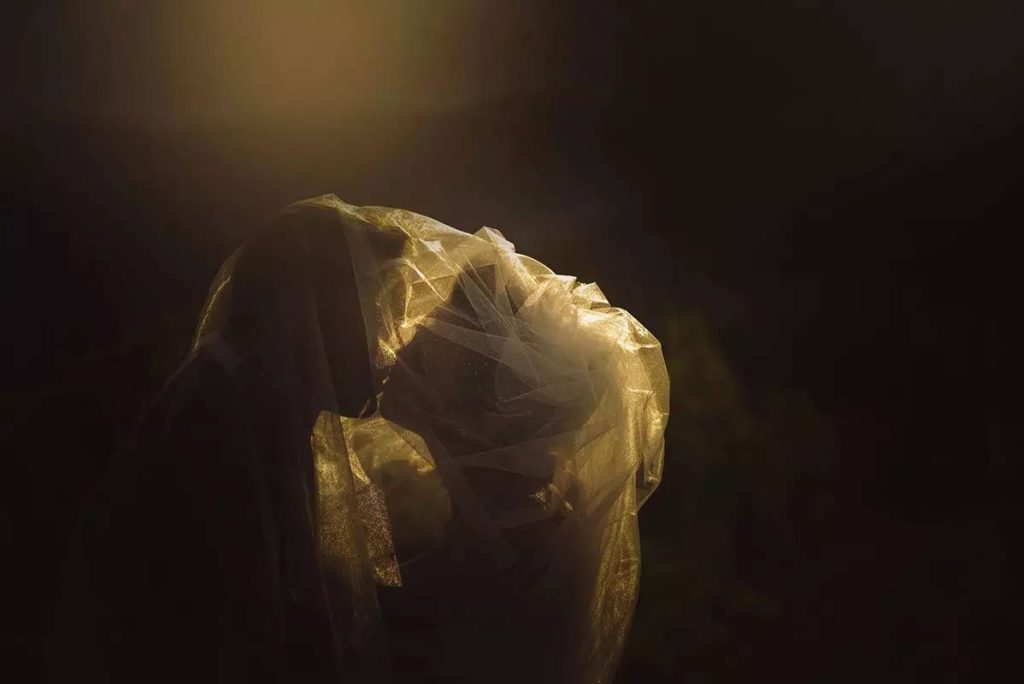
6. Use the intensity of light to make the subject more prominent
If the light is close to the model, the light intensity between the subject and the background will be more obvious. If the light is further away from the subject, the background will be brightened accordingly and the model will not stand out as much.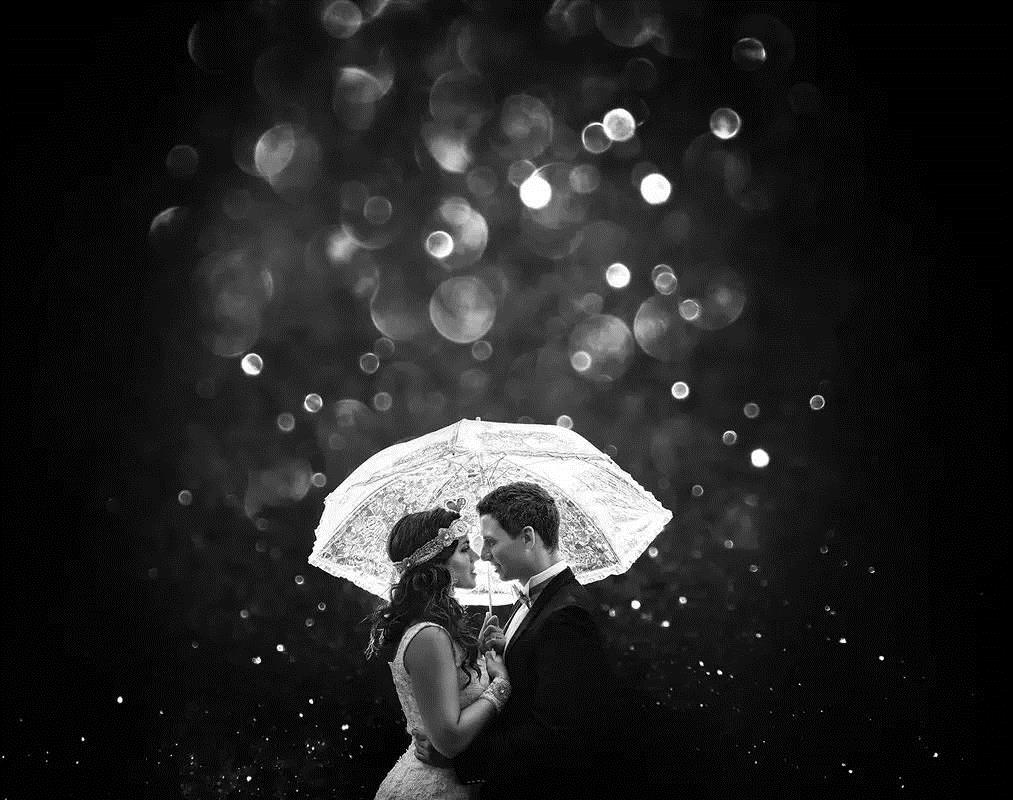
7. Side light can enhance the texture of the subject
Portrait photographers usually point the light source directly at the subject’s face so that the subject’s wrinkles are less prominent. Landscape photographers prefer to use side lights to enhance the texture of rocks, sand, and foliage. In general, the greater the oblique angle between the light direction and the subject, the more textured the subject will be.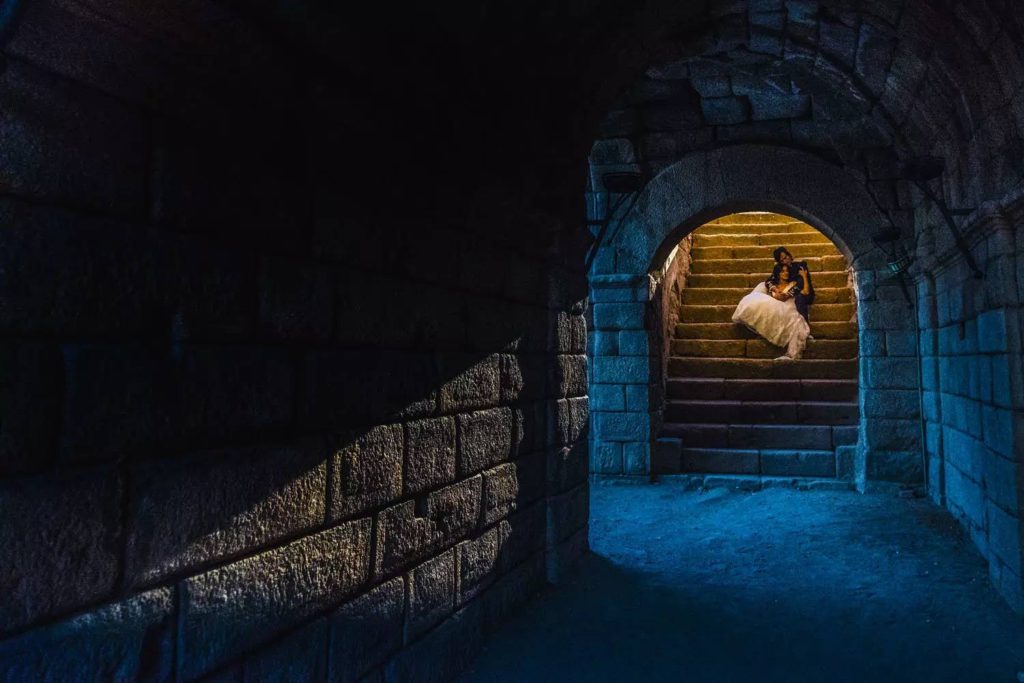
8. Shadows can make the model more three-dimensional
Shadows are what photographers use to make models more three-dimensional on flat photos. All kinds of light, such as side light, top light, and bottom light, can cast deep shadows on objects, thereby creating a three-dimensional effect. Still life, commercial and landscape photographers like to use different angles of light to create different moods and effects.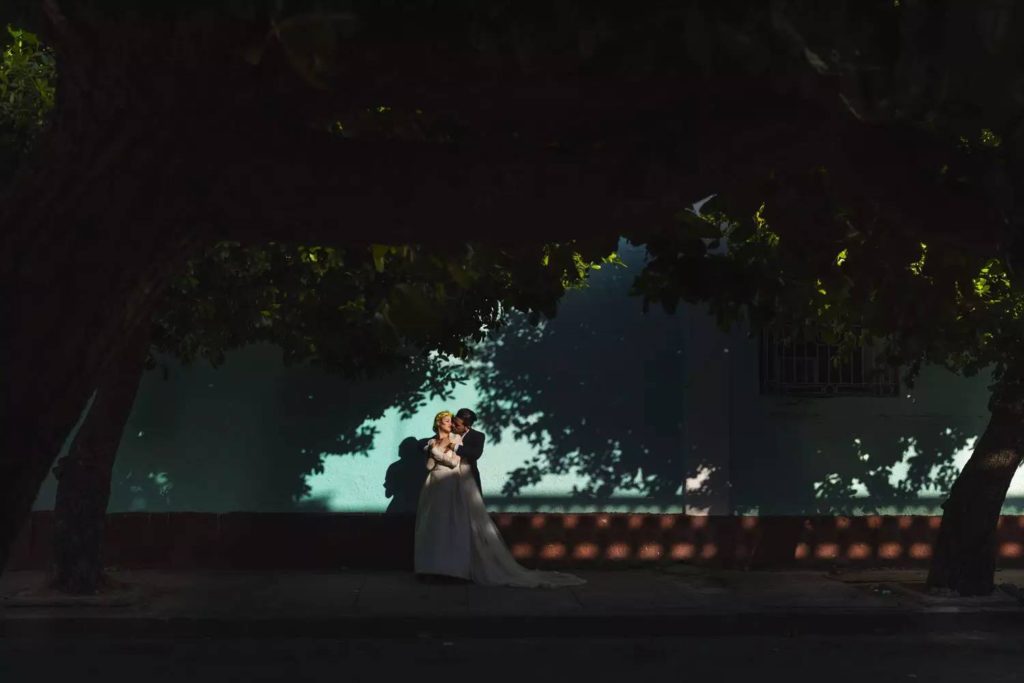
9. Backlight can be used as a soft light source
Few subjects are illuminated solely by the backlight. If a person is standing in front of a bright window, the wall he faces will reflect some of the light that falls on him. If a person is outdoors, there will be light from the sky on the front even if the background is bright sunlight. You can use a reflector to reflect the backlight back on the subject to increase its exposure.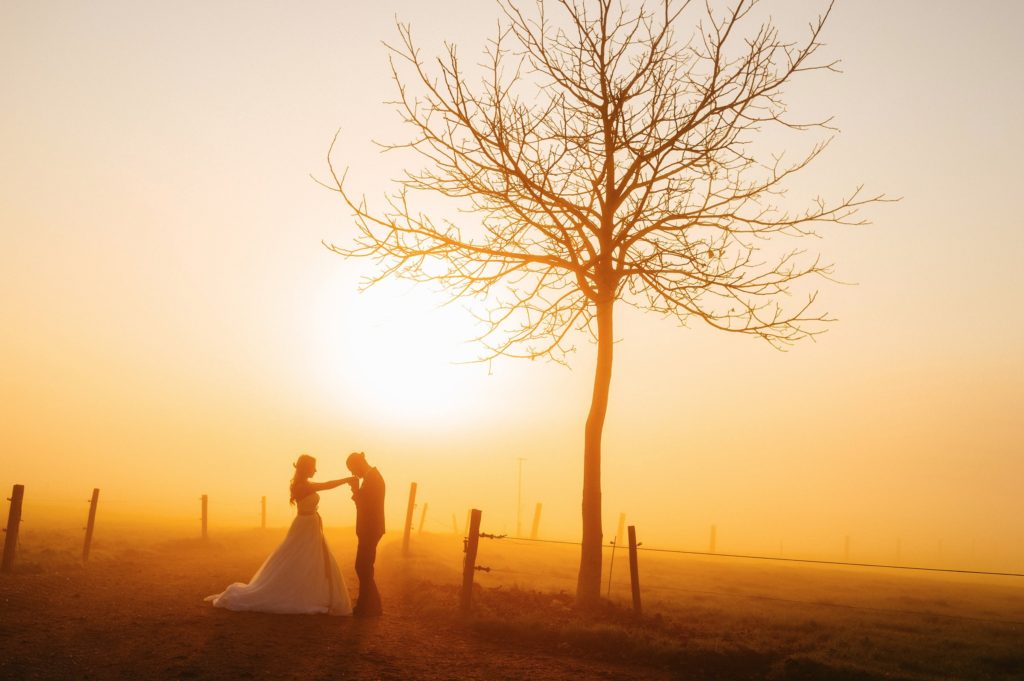
10. Light has color
We call the color of light its color temperature, although it can sometimes appear to be “colorless”. It’s just that our eyes and brains automatically adjust and sense, making it imperceptible to us. But digital cameras and film record colors that we can’t see.
The early morning and evening sun has warm tones, and the shadows cast by the midday sun are blue. For digital cameras, you can use the white balance function to eliminate or accentuate the color of the light. For example, you can add warm tones in landscape or portrait photos.