
You must have heard this saying before: Digital cameras (DC in the following) are omnipotent. You just press the button and a great photo will magically appear in front of you. The better the camera, the better the photos it takes. Is that true? Of course not!
The truth is that you can take a great photo with a simple consumer-grade goofball DC, and you can take a rubbish photo with the most expensive DC. Beautiful photos are not created by cameras, but by photographers. With a little knowledge of photography, and a desire to keep improving, you can use your little DC to take big shots that could make it to Time magazine.
To help you fast-track your journey to becoming a great photographer, here are 10 tips that will allow you to take pictures like a pro without spending a fortune on expensive equipment.
Table of Contents
1. Warm up Your Photos
Have you ever noticed that sometimes the photos you take have a cold feeling? If the answer is yes, then you are not alone. The DC’s default white balance setting is “auto”, and while that’s fine in most cases, it can sometimes make the scene too “cold”.
When you’re shooting outdoor scenes, especially when the sun is shining, try setting your white balance to the “cloudy” setting. Yes, it is the “cloudy” gear. This change is the same as adding a warm filter in front of your lens. It warms up the image by making the reds and yellows in the photo fuller.
If you don’t believe me, try it. Take two sets of photos outdoors with auto white balance and cloudy white balance, then compare them on your computer, and I guess you’ll like the warm-looking set.
2. Use Sunglasses As Polarizers
If you really want your photos to punch, keep a polarizer handy. Polarizers are a must-have filter for every photographer. It filters out glare and those unexpected reflections, making your photos more saturated, especially for the sky.
What did you say? Your DC cannot add filters. Don’t be disappointed, I have a trick that I’ve used on my fool DC for years. If you have a decent pair of sunglasses, just take it off and put it in front of your lens. This is your polarizer. Of course keep them as close as possible to your DC’s shots, don’t block one part but not that part.
For best results, point either of your shoulders at the sun. The polarizing effect is best when the light source is at a 90-degree angle to the subject.
3. The shining style of outdoor portraits
One of the undiscovered features of digital cameras is fill flash or flash on. By manually controlling the flash, rather than letting DC decide when it should and shouldn’t, you’re taking a critical step forward in creating great outdoor portrait shots.
In forced-flash mode, the camera first exposes the background and then illuminates the subject just right (this is a bit awkward). The result is a professional looking photo where everything looks so comfortable. In fact, wedding photographers use this technique all the time. I used to wonder why they used flashlights in broad daylight.
When you use this technique, you can have your model stand in different light paths, such as side lighting, or even backlighting. You’ll get that kind of photo with sparkling edges of hair, and that way your model doesn’t have to squint for the sun to shine. Of course they also look more natural.
Remember, most cameras have built-in flashes that are only 10 feet (3.05 meters) or less, so you should never stand too far from your model.
4. Crazy Macro Mode
Remember when you discovered a whole new world in the grass beneath your feet as a child? As you get closer to the ground, you see a vast world of creatures that you’ve never seen before.
These days, you probably don’t want to stick your rotten belly to your backyard turf like that anymore. But if you close up and start exploring that microscopic world in more detail, you’ll be rewarded enormously. That’s brand new content that you’ve never shot.
Even the simplest objects take on a fascinating new look in macro mode. The best part is that DC is the best at doing this.
Find the button for macro mode, which is often a small flower, press it to turn on macro mode, and get as close to what you want to photograph as the camera will allow. Once you’ve composed your image, half-press the shutter to let the camera focus, and when it’s focused, press the shutter to take the photo.
Remember that in macro mode, you’ll get a very shallow depth of field (that kind of bokeh effect). So it’s important to get the focus right to the subject you’re shooting.
There are requirements for the focal length in macro mode. Generally, the macro mode of the large zoom camera fails at the telephoto end.
5. The horizontal line that always hurts
For some mysterious reason, the vast majority of humans can’t hold the camera flat when shooting with their DCs with LCDs. The result is a skewed sunset, a sideways horizon and the ubiquitous Leaning Tower of Pisa.
Part of the reason is that the camera’s lens is distorted when it is imaged on the LCD. A tree that looks upright and straight will appear curved inward in the lens.
What should you do? First remember that there is no one-size-fits-all or one-size-fits-all approach. But you can improve by remembering a few tricks.
First of all, it’s important to realize that it’s important to shoot as level as possible. If you’re having trouble composing your shot, try keeping your camera level, then gently rotate it horizontally a slight angle to take another shot. Of course you can take a few more pictures and compare them, maybe there will be one that feels right to you.
If you practice the technique of taking horizontal photos regularly, it will slowly become a habit, and you will find your landscapes take a class.
6. MMC card
Buy a memory card large enough so you don’t miss out on good photos just because the card is full.
Today’s memory cards are so cheap…this is no longer a problem.
7. Always use the highest resolution
Another great reason to buy a mass memory card is that it allows you to use the maximum resolution of your camera.
Be sure to set it to the highest resolution. Because if you accidentally take a great photo, you don’t want to just share it with people on your computer.
I always set the photo quality to the highest, very fine level. Although the size of the photos has increased dramatically, as the author said, you will definitely not regret doing so.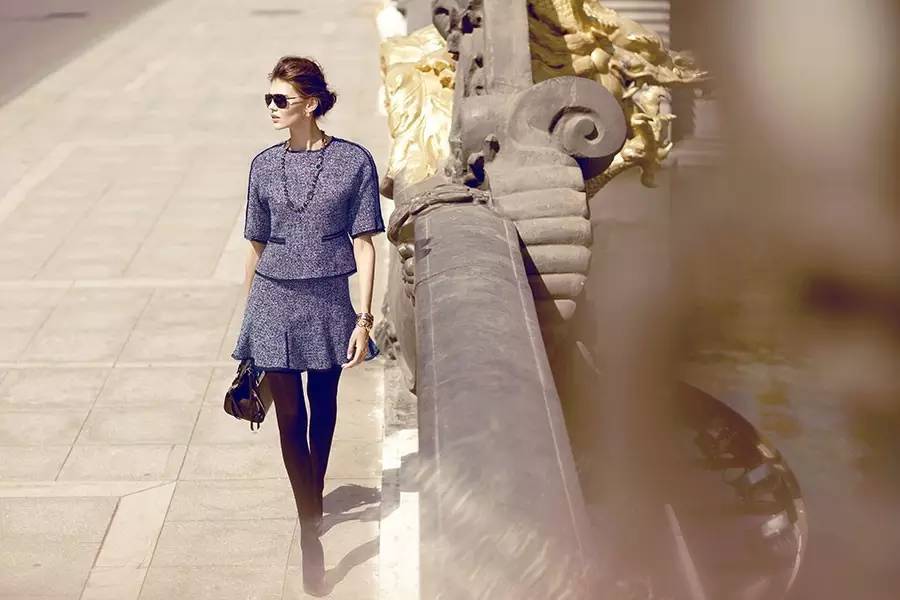
8. Mini tripod
I have occasionally heard someone say, “He must be a professional because he uses a tripod.” Of course, whether you use a tripod or not has nothing to do with your photography skills. But, this three-legged guy is really useful.
The problem is that tripods are cumbersome to carry around.
Good news for DC owners, the UltraPod II, a mini tripod that stows away in your pocket. It can be used alone or tied to something (like a railing).
9. The fun of selfie mode
Now that you have a mini tripod in hand, you can try another feature that hasn’t been developed yet – selfie mode (self timer is that timed shot). This feature allows you to take a photo after a period of time (up to 10 seconds) after pressing the shutter, and it solves another problem that has plagued people for many years – no photographer’s family photo.
Hey, don’t think you’re ugly and don’t want to be in the group photo, you can give the camera to a stranger and ask him to help. Of course, you run the risk of them being unreliable.
Selfie mode is the alternative. Fix the camera with a tripod, adjust the settings, press the shutter, and then quickly stand at your preset position, wait for a while and it will be OK.
Selfie mode is even more powerful! When you are shooting night scenes with long exposures (such as those spooky photos of car lights on the road), in order to avoid camera shake when you press the shutter with your hand and blur the photo, you can use the selfie mode to perfectly overcome this problem .
10. Running water under long exposure
The pictures I take, no matter how wonderful, are hard for my family to see. But there is one exception. Recently my sister commented on a set of my water-themed photos that they were like paintings. You know, that’s a great compliment to me.
She was talking about one of my favorite photos: shooting water in slow motion. It is to use a slow shutter speed and shoot that kind of flowing water to create a soft and dynamic feeling.
Put your camera on a tripod, force a slow exposure (like 1 second or more), and you’ll get this painting-like flowing water curtain. Aperture priority mode, f8, shutter speed 1 second, polarizer, mini tripod.
Because of the long exposure time, you will need a tripod for stability. Of course, you have to use the selfie mode. Use aperture priority mode and set your aperture to f8 or even smaller, which will give you a great depth of field while slowing down the shutter. Shooting water in the shade, water in the sun will not allow you to use such a long exposure time.
Another tip is to keep your sunglasses in front of the camera. In addition to the role of the polarizer, it also blocks some sunlight and makes it possible for you to get longer exposure times.