Table of Contents
Importance of the direction of Light Projection
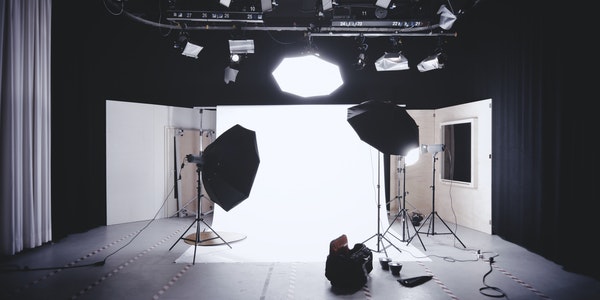
Photography is the control of light. We must learn to judge the direction of light in order to process light effectively. In the future, we will elaborate on the use of light in photography through several articles. Today we will first understand the direction of light.
The reason why we can see bright objects is because the objects form various reflections under the sunlight. Depending on where the sun is irradiated, constantly changing light and shadow will occur on the object. Therefore, we can regard a subject as the center of a three-dimensional spherical sphere, and the light in photography can shine on the subject from any direction around the center of the sphere.
For the convenience of presentation, we roughly divide the direction of light into forward light, side forward light, backlight, side backlight, top light, and bottom light. The classification standard is to change the incident direction of the light source to distinguish between the subject and the camera while keeping the relative angle unchanged. Of course, the incident direction of the light source mentioned here is not limited to the light source and the subject being in the same plane. Changing the high and low angles of the light source will also have different light and shadow changes. Next, let’s see what are the different effects of light from different directions.
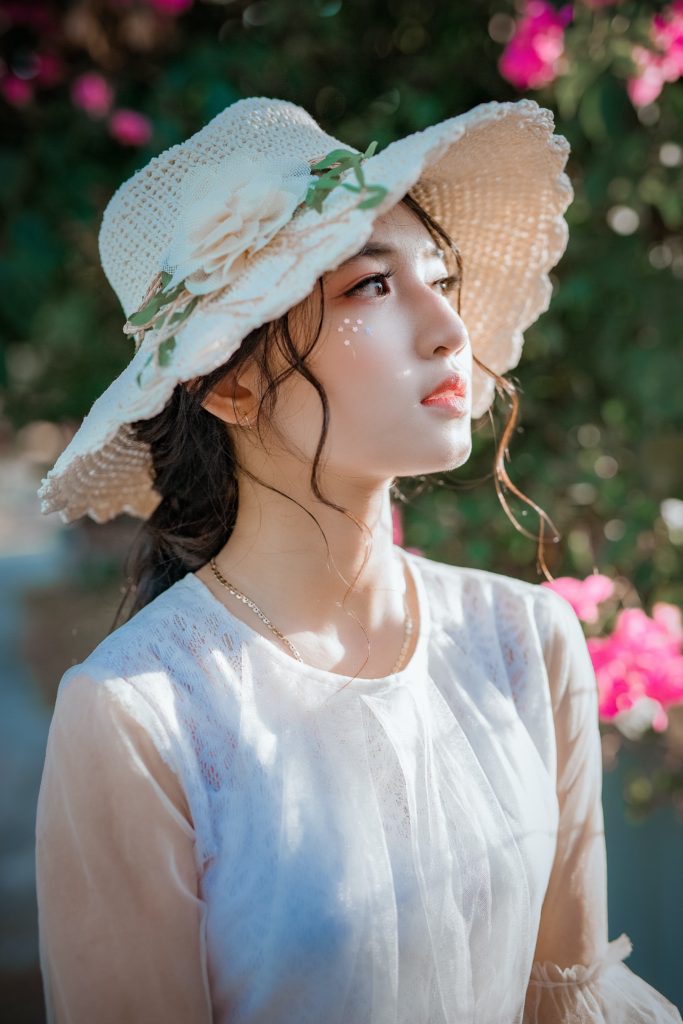
Forward Light Photos
Forward light means that the illuminating direction of the light source is in the same straight line as the camera and the subject.
By observing the light and shadow changes of a photo, you can see the direction of the light in the composition. In the light photo, a darker shaded area is formed on the back of the character. The forehead and nose of the character form a bright area. The shadow on the lower part of the chin is very close to the chin. We can say that the lighting of this photo is with the camera. The incident angle is in the same direction.
In photos taken with forward light, the advantage is that the face of the person is shot very clearly, the light is evenly received, and it can cover many face defects of the person. The disadvantage is that it lacks a sense of three-dimensionality. People photographed with front lighting will make the faces of the people you photograph very flat and lack the relationship between light and shadow. If the person is dealing with an outdoor environment, shooting with light will also make the person’s eyes unable to open, and finally make the eyes in the photo uncoordinated.
Side Light Photo
Our standard for defining the side light does not necessarily have to be constant at a 45-degree angle formed by the camera, but at this angle, the shot will be more three-dimensional. Therefore, we often use 45-degree sidelights when shooting indoors or outdoors.
From the angle of the subject and the angle of light and shadow, we can roughly think that this is a side-lighted photo, the light-receiving part has uniform brightness, and the unlighted part forms an obvious dark area, like the tip of the nose. When light is received, a dark area is also formed. So such photos are full of three-dimensionality, which is also the most commonly used lighting method in portrait photography.
The side light shooting makes the photos have rich tones and levels, and at the same time increases the three-dimensional sense of the photos, but it becomes difficult to control the light when shooting. We need to find the appropriate light metering points during the side light to ensure the photos. The highlights and shadows in the middle have layers. It is recommended to find the secondary bright area of the picture for side lighting during shooting. If the light ratio is too large, we can appropriately increase the fill light in the dark area to avoid the loss of dark areas.
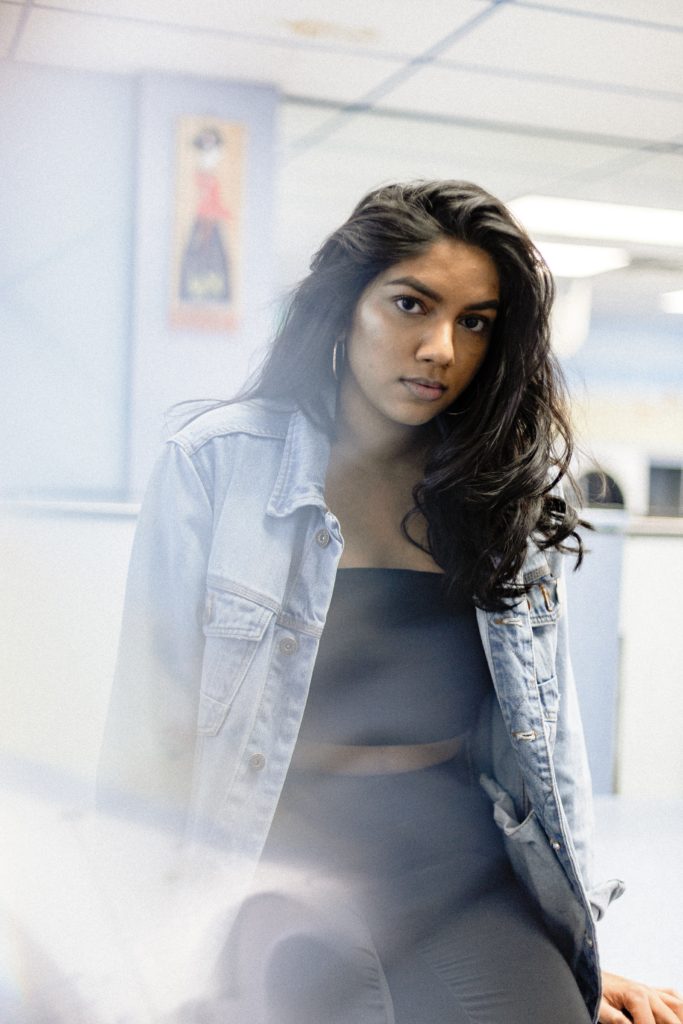
Backlit photos
Backlit photos refer to the direction of light irradiating and the camera shooting direction is exactly opposite.
Backlit photos often give you a warm and fresh feeling, mainly due to the obvious warm colors in the picture. When shooting against the light, the characters will have obvious contour light, which can effectively separate the characters and the environment.
Backlighting photos can form a clear contrast between light and dark. When shooting people from the front, the light is shining in from behind, it is easy to take the people into big black faces. Therefore, when we are in the side light, we should choose the sub-dark area in the picture for metering, try to ensure that the highlights are not exposed, and ensure that the dark parts of the characters have a certain level. Of course, when necessary, we can use the high-speed synchronization of the flash to fill the light or use the bracket exposure method to shoot.
Side backlight photo
Side-backlit photos refer to the angle of 135 degrees between the illumination direction of the light source and the illumination direction of the camera.
In fact, there is not much difference between side-backlit photos and back-lit photos. When we take back-lit photos, we will always be out of focus because the contrast between light and dark is too large. However, side backlight photos can effectively avoid this problem. The side backlight illuminates the partial contours of the back of the person including the face to form a partial contour light, so that the facial area of the person will receive a certain amount of light, which is convenient for the operation of focusing.
Side backlight photos have a strong sense of space. When shooting, we often find a shooting angle with side backlight. The purpose is to use the side backlight as a modifier light to give a contour light to the person’s back and side position to make the background and the character Make effective separations.
Side light photo
A side-light photo means that the illuminating direction of the light source and the direction of the camera form a right angle of 90 degrees.
When shooting portraits, we use the side-lighting method to shoot people’s faces that are bright on one side and dark on the other, which is what we often call yin and yang faces. The subject has an obvious light-receiving surface and a backlit surface, which makes the photo have a clear three-dimensional effect and texture.
We often use side-lighting to shoot men’s portraits to highlight the silhouette of men and show a masculine atmosphere. It is recommended that you use less side light when shooting women’s portraits. Women are more suitable for shooting with positive light, which is more gentle.

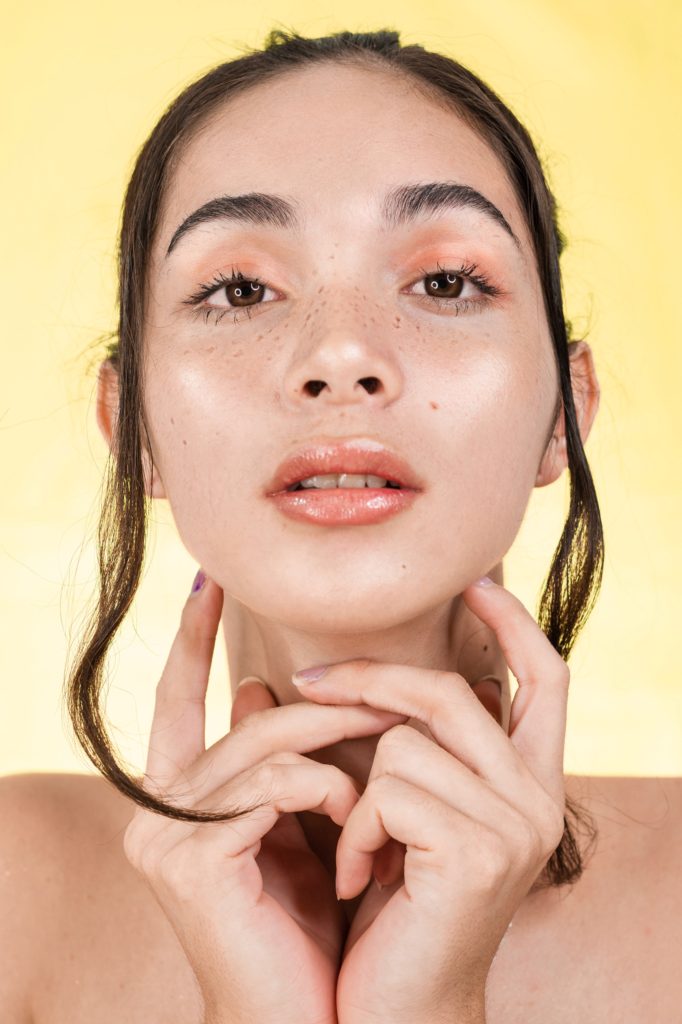
Top light and bottom light photos
Top light photos refer to the light source shining into the subject from the top, bottom light refers to the light source shining into the subject from the bottom.
This picture is a top-light photo taken at noon, we can see the obvious shadow under the woman’s neck. Since the sunlight is just above the head of the subject, the shadow formed is naturally the projection of the person’s face. Top-light photos are a place that must be paid attention to in shooting. We often say that photography is the control of light. When shooting people, under normal circumstances, no obvious shadows can be formed on the faces of people. In such a photo, the light transition is uneven. When shooting, we can place a soft light cloth on top of the person’s head. Minimize the shadow of the top light.

The bottom light makes the character’s chin and the lower part of the nose form a bright area, and the recessed position of the character’s eyes form a dark area. This kind of lighting is often called “ghost light” in photography. If we don’t express such a theme deliberately, we should try to avoid the formation of light and shadow.
During shooting, if your assistant camera takes a lower reflector, this is a wrong way to fill light. So be sure to raise the reflector.
When we take photos, we often use side light, back light, and side backlight shooting. Of course, the different angles of the light source can also form different light and shadow. Learning to recognize the direction of light helps to accurately control the size and intensity of shadows during shooting.