Table of Contents
Contrast Control Affects the Atmosphere of the Photo
Another more complicated argument for contrast is light ratio. Generally speaking, after adjusting the main light, we will adjust the contrast (that is, the light ratio).
Generally speaking, if the light metering value of the bright part and the light metering value of the dark part are different by 1 EV value, we will say that the light ratio at this time is 1:2. If the metering value differs by 2 EV values, it will be said that the light ratio at this time is 1:4. And if it is 3 EV values, it will be said to be 1:8. In the same way, if the difference is 4EV, it will be said that the light ratio is 1:16.
You will find that the ratio of light is the number of powers of 2 added and multiplied. The greater the number difference, the greater the difference in brightness between the bright side and the dark side.
The figure below is an example. Although it was taken on the background paper, because it is a relatively flexible product, we will not use too much contrast to take this photo. Instead, we chose a lower contrast to highlight the soft feeling we want.
Difference in EV Value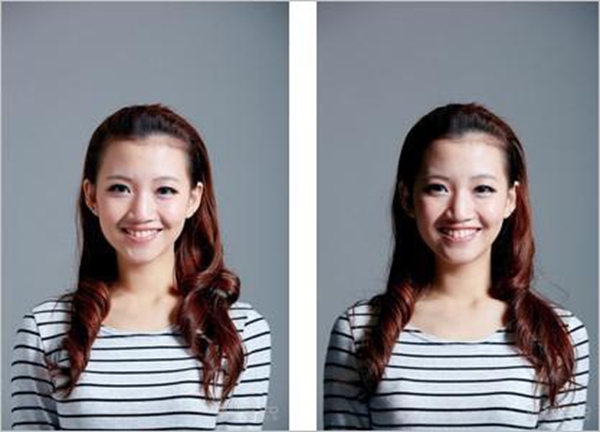
Light ratio 1:8 VS light ratio 1:16
In fact, the contrast (light ratio) of the two photos on the protagonist’s face is not much worse. The first one is about 1:6, and the second one is about 1:4. As far as the light ratio is concerned, the control of the dark part is only one EV value worse, but it feels a lot worse. So before talking about basic lighting, we must understand what light ratio is, something that we often encounter when shooting outside.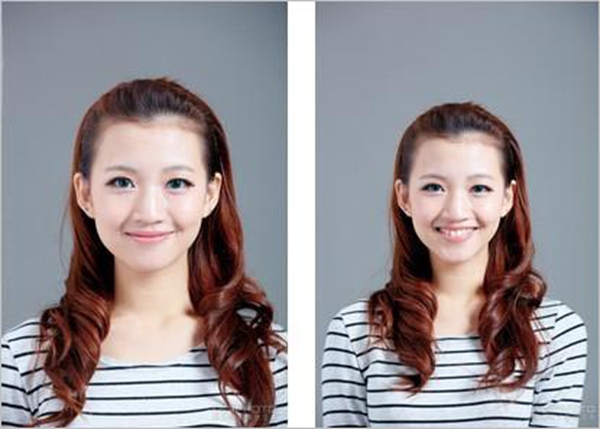
Light ratio 1:2 VS light ratio 1:4
High contrast: light ratio 1:8
The so-called 1 EV value means that when we meter in the bright part, if the correct exposure is f/8, and the meter in the dark part is one aperture value (that is, f/5.6) different from the bright part. Of exposure. Such an exposure with a difference of one aperture value is said to be a difference of 1 EV.
Demonstration of Different Light Ratios
Low contrast: light ratio 1:2
We can see from the figure below that when the light ratio is 1:2, the difference between the bright part and the dark part is only one aperture/EV value. Therefore, there is almost no contrast on the model’s face, and the light feels relatively flat. Sometimes when we take photos, we feel that such photos are less sexy. But if you are shooting some products with heavy faces, such a sense of light is more commonly used. Mainly because there is no shadow, it will not steal the elegance of other products.
In addition, if it is in a relatively soft light environment, such a light ratio is easier to appear. The picture below is the light emitted by a relatively soft light environment. Because it is already a relatively large-area soft light method, a lot of diffused light will surround the shooting environment, so there will also be a situation where the light ratio may be 1:1. We will have a softer feeling in such photos. So when we shoot more feminine products, we also use this light ratio.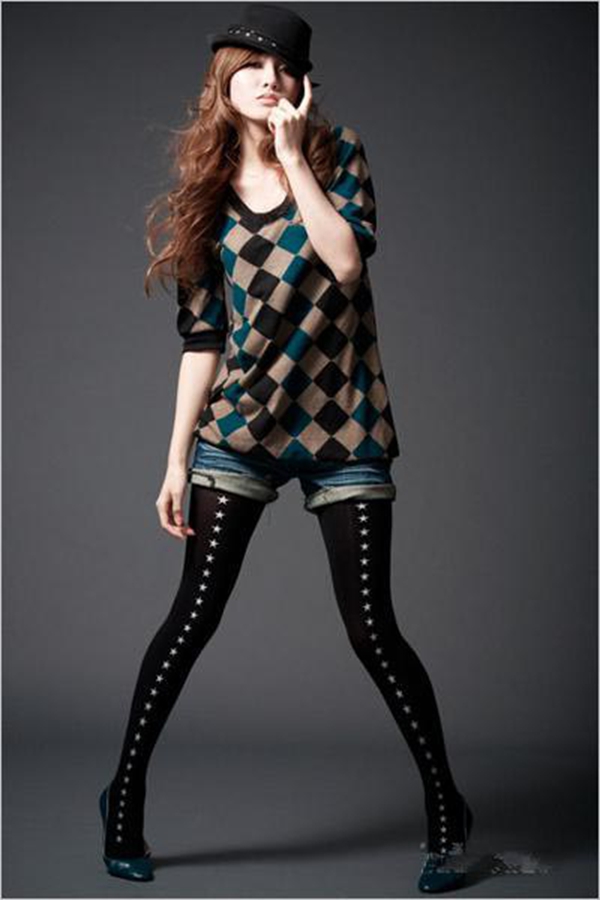
High contrast: light ratio 1:8
Let’s look again, if it is in the light ratio of 1:8 (the bright part and the dark part are four aperture/EV value difference), we can clearly distinguish where the shadow is. And below this light ratio, we will use it more in a more sexy shooting situation. Since it is a more personalized model, we will use this relatively high-contrast method to shoot. The picture on the right below is also an example of high contrast, mainly because the scene is also more personalized, so we will use this contrast value to shoot.
High contrast: light ratio 1:16
We also noticed that if the contrast reaches 1:16, the details may no longer be visible in the dark. In fact, if you are using negatives, perhaps such a contrast can still show the difference in details. Only if it is used in a digital camera, because we know that the latitude of a digital camera is not higher than that of a negative film. Although we can pull out some details by reducing the contrast, the picture will be gray and not very high-definition. Therefore, on the digital body, we rarely use the situation above 1:16.
Another reason is that it is more difficult to light up in the shed if it has to bring out a bigger contrast. Unless you are in a black shed that does not reflect light, it is possible to achieve this situation relatively simply.
Three Ways to Control Light Contrast
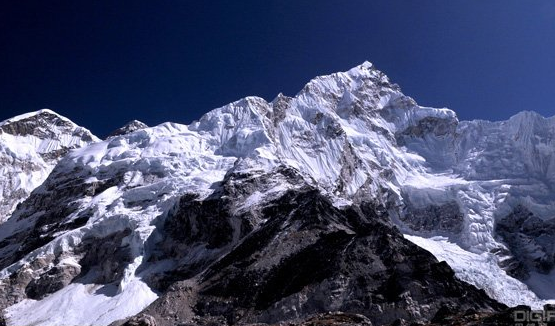
Sometimes we will find that the use of light is not so easy. Especially when shooting landscapes. The part where the sun shines is very bright, and the part that does not shine is very dark. Although the contrast between light and dark can make the work look more three-dimensional, too much contrast will cause difficulties in exposure, such as sunrise or sunset. Contrast control is extremely important at this time. Take the morning twilight as an example, there are three solutions to reduce the contrast.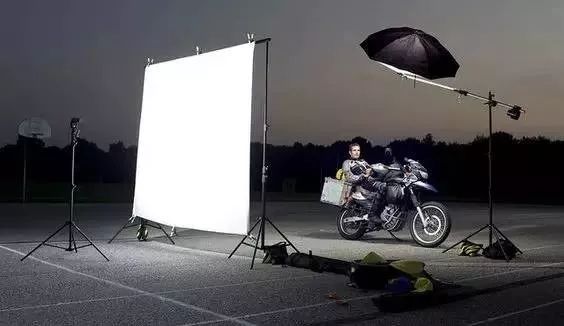
HDR synthesis production
Due to the low tolerance of the camera’s photosensitive components, there is no way to reproduce the high-contrast details seen by the human eye. HDR (High Dymanic Range) refers to high dynamic range images, usually depending on the scene environment, through exposure bracketing to shoot 3-5 images with different exposure values (such as 2EV, -1EV, 0EV, +1EV, +2EV) ), then synthesize. Used to shoot the morning and dusk, you can get a picture of the sky will not be overexposed, and the ground will not become a piece of black.
HDR photos usually give people a fake feeling. In fact, this depends on the proficiency and aesthetics of each person’s software operation. Some people like heavy flavors, while others can make HDR very natural. In addition, many cameras now have a built-in HDR function, which automatically shoots 3 images with different exposure values for synthesis, which is very convenient. But the effect is not satisfactory. Therefore, if you are interested in HDR, it is better to work hard on the software post-production part.
Gradient dimmer
Gradient dimmer is a kind of filter lens, the light transmission from top to bottom decreases from full light transmission. The usage method is as follows: write down the value measured in the dark part, set the camera to manual exposure, and then use the measured value as the exposure value. When shooting, the camera must be fixed on the tripod, which is better for operation. Pick up the gradient filter and cover the over-bright part of the screen with the less light-transmitting part of the gradient. The intention is to reduce the exposure of the bright parts so that the contrast is not so big, so as to take an ideal photo (as shown below).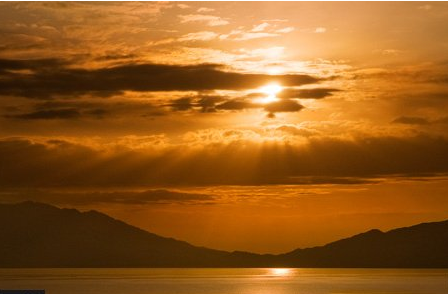
Shake the black card
The origin of the black card is untestable, but it is certain that it was invented by Taiwanese photographers, and it is not available in the world. Its purpose is very simple, it is to reduce the exposure of bright parts. It can be a piece of black hard cardboard, or it can be loaded with black gloves to cover the bright parts. Since it does not have a gradation like the aforementioned dimmer, it must be shaken up and down or left and right during exposure to avoid a black mark.
The method of use is very simple. The light is metered in the dark part first, and the exposure value is used to shoot. Then look through the viewing window or from the LiveView. The black card first aligns to cover the bright part, and then starts to shake after pressing the shutter, and then quickly pulls away before the shutter closes.
Remember, long time is better than short time. Therefore, depending on the amount of light, photographers often use the ND filter. When you start to shake, you have to count the time silently in your heart. And you must pull away before the shutter closes so that there will be no traces of black cards. Of course, we must fix the camera tightly on the tripod, and practice hard to be handy.
Use of spot metering
When shooting scenery outdoors, the control of contrast can be solved by the above-mentioned methods. If the contrast is not that great, in general, use weighing metering. But if you are worried about misjudgment of metering (for example, there is a large area of white or dark areas in the screen), you can use spot metering to take an ideal photo. Based on the experience of photographers, the following figure uses the spot metering mode to measure the midtones. And then add 0.5 to the EV value, so that the bright parts will not be overexposed. And the dark parts will not be underexposed.