Table of Contents
What Is Area Light
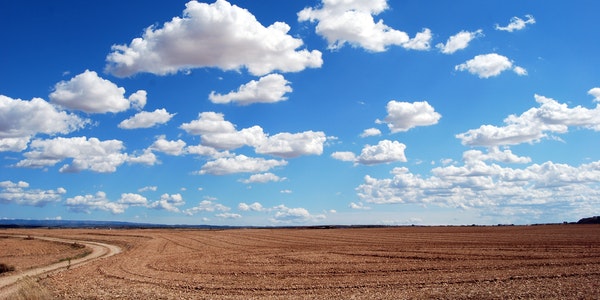
In landscape photography, area light is a light that is often used. The so-called area light refers to the local area light projected on the ground through the clouds in the sky, the plants on the ground or other scenery. Area light can increase the contrast of the picture, making the picture appear bright or dim locally. Sometimes the light projected from the gap between the clouds may also appear as a beam phenomenon. If this area light is reasonably arranged into the picture, it can bring unexpected visual effects to the dull picture.
The appearance of area light can make the originally dull picture beautiful.
Commanding Heights
When shooting with area lights, finding the vantage point is the key to success. Shoot area light projection. When it comes to ground scenes, it is easier to perform high-angle aerial shots. In order to better represent the light and shadow effect of area light, you should try to find a position with a wide foreground when selecting the commanding height. It should be noted that some trees or weeds should be avoided, otherwise it will affect the viewing effect of the picture.
Shooting at the commanding heights can better show the light and shadow effects.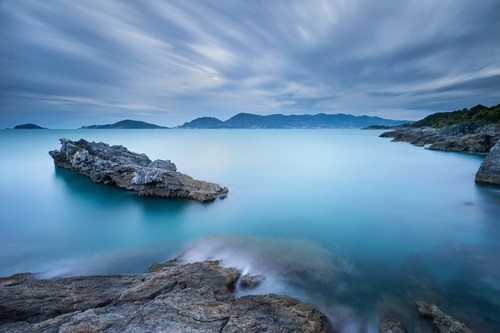
Metering Mode
The spot metering mode is suitable for shooting area light. Before shooting with area light, you can meter the light in advance according to the scene that is illuminated by the light. When metering, you must measure the part that is illuminated by the light. If you meter the dark part, it will cause the picture to be overexposed, and the area illuminated by the area light will become pale.
When everything is ready, you can wait for the area light to move to the best position and press the shutter to shoot. Of course, we should analyze the specific situation according to the shooting conditions such as on-site lighting. And if necessary, we can reduce the exposure, generally speaking, it can be reduced by 0.3-1 stops.
After using spot metering to measure the brightest subject in the screen, subtract 1-level exposure according to the measured data. That can better highlight the light and shadow effect.
Use of Lens
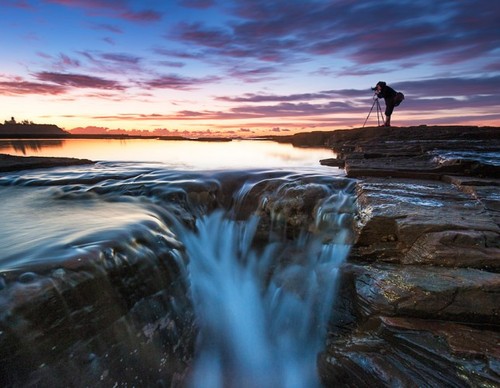
Use either a wide-angle or telephoto lens when shooting area light. The wide-angle lens can express wide and atmospheric scenery scenes. While the telephoto lens can zoom in on the wonderful local scenes in the distance. It is important to note that the movement of the clouds varies with the magnitude of the wind. When the wind is relatively strong, the clouds move faster, and the speed of the area light shift is correspondingly faster. At this time, the pre-shooting preparation becomes very important, because the action is a little slow when shooting. And the fast-moving area light will be missed. This is why landscape photography also needs to be captured.
Waiting to capture when the light moves to the most beautiful part of the frame is the key to success.
Timing of Area Light Appearance
Area lights obscured by clouds do not appear very often. And are especially likely to appear in the days before and after a storm. Using the area light created by the clouds, not only can you shoot in the best light and shadow in the morning and evening, but you can even shoot good works at noon.
In real-life scenes, area lights, which are partially blocked by other objects, can be seen everywhere. This area light, which is blocked by objects, will produce different light and shadow effects according to different periods and time periods. This kind of area light can even be changed artificially. As long as you are good at observing and using it, you will be able to shoot wonderful works of light and shadow.