Now the time has come to install the first light fixture, and it is also the time for the test. All eyes are looking at you. The electrician on the scene asks you the troublesome question: “Director, what do we need?”
That’s it. This is one of the most important and meaningful decisions of the day. At this time, you don’t even have time to sit at the simple service table and have a cup of coffee.
Placing the first luminaire is different from planning lighting. To know the reason, we must understand the lighting process: it refers to both the physical process and the process in the mind of the lighting personnel.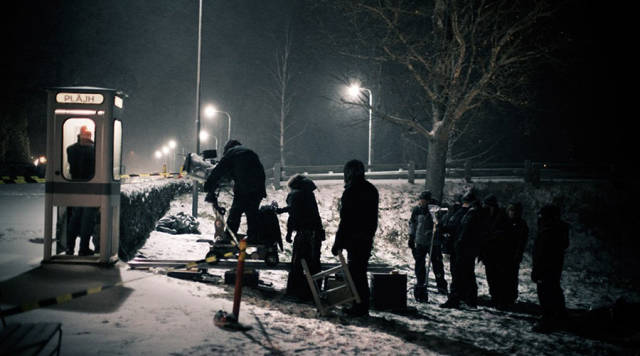
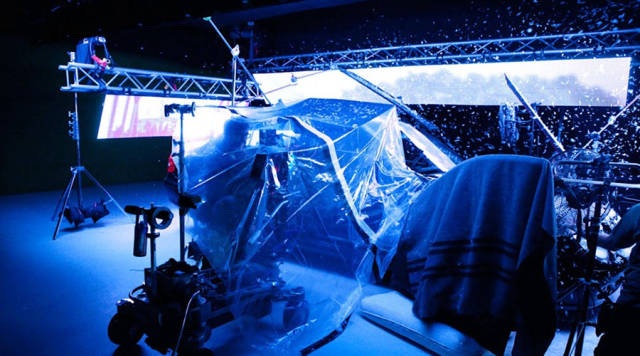
The process of lighting is like the process of building. Add a lamp or several lamps each time, observe, measure and evaluate the accumulated effect, and then make adjustments and add other lamps. Buildings can take many forms, and lamps can actually be brought to the set or roughly lined up at once, and then turned on for individual adjustments. Obviously, the schedule and budget have a lot to do with how to carry out this link.
This process is very dynamic, and the situations are almost different, but like many things in life, where you start and where you end are very much related.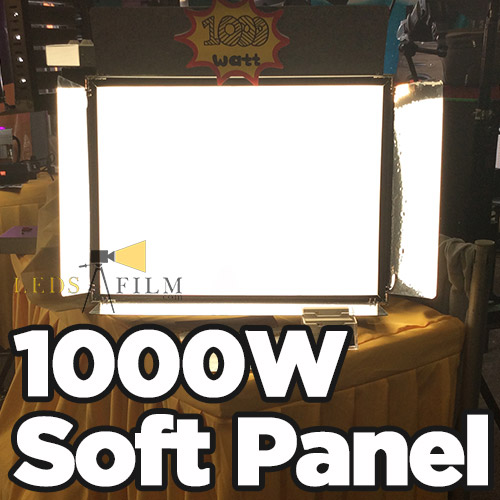
There are several basic ideas for arranging the first luminaire. You have the following options:
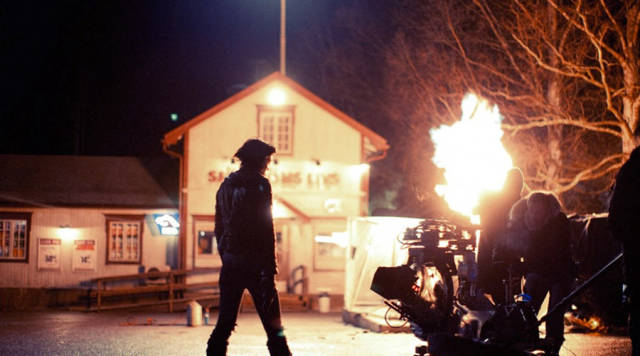
- According to the existing clues of the set: work lights, windows, doors, skylights, fires, etc. From a practical point of view, this means arranging the lighting for the scenery first. For example, when arranging the first light fixture, one of the most frequent choices is a beam of sunlight through the window, whether the beam of light comes from an HMI lamp, a 5K lamp, or the softness of a strong light reflected into the foam core. Light. This provides a lot of ambient light for the scene, which can immediately show the effect of this lighting and the things that need to be processed. This kind of light is usually used as the main light of the actor, at least for part of the scene.
- Arrange the main light of the actors first. This method is usually used when a scene is close-up, or when the scene mainly revolves around a certain actor, or when the setting provides few clues.
- Set the tone of the overall environment. It can be obtained with a strong light on top of silk, a pair of open-faced lamps directed towards the white ceiling, or other similar lighting techniques. This technique is clearly the starting point for the overall ambient lighting type. When using this type of lighting, you usually use this method to start lighting, because the basic exposure level is a reference and all other lamps must be balanced with this, so it is important to determine in advance for the progress of the work.
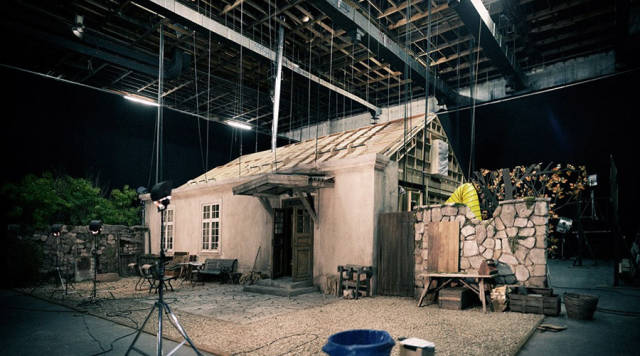
At this point, we will assume that you have decided to start lighting according to the natural characteristics of the set. For example, we observed this simple room setting, in which a large window is the main element.
In this way, you decide where to place the lamps. Now, you have to decide what lamps to place. At this time, there are two aspects to consider: the characteristics of the light and the amount of light. The decision on the amount of light is based on two considerations: the foot-candle level you want to achieve and your overall plan. This decision is the result of the following factors:
- The rated film speed of the emulsion you are using. Remember, you may not be able to set the film at the speed listed by the manufacturer.
- The t-stop aperture you want to obtain. This is determined by the maximum aperture of the lens (that is, whether the lens is slow zoom, normal focus, or fast focus) and the desired depth of field of the scene.
- The distance between the lamp and the subject, the soft and hard light effects you want to obtain, and the possible movement of the subject or the movement of the camera.
- Does the front of the lamp need a regulator? A large amount of diffusion will lose one aperture of light or even more, but the real culprit may be colored gels, especially dark gels, which can lose several apertures of light.
Main lighting
The main light should now be set. The necessary tasks are:
- Highlight the characteristics of actors. Make young female stars look more beautiful, make bad guys look more sinister, make products look shiny, etc.
- Highlight the atmosphere of the scene. For example, other parts of the scene may be dark, melancholic, vicious or even completely in shadow. If the role itself is insignificant, then it can be passed soon. But if this is a long dialogue scene with a key character, the director may not accept leaving the actor’s face in shadow for a long time. In this case, the main light must look dark and shaded, and at the same time, it must provide enough light to illuminate the face of the actor.
- Maintain continuity.
- Cover action.
- According to other parts of the scene, provide proper exposure and balance for the subject.
- Provide the right color balance for what you want to do.
When deciding on the main light, there should be many questions in mind. Hard light or soft light? What level of foot candles are needed to balance the currently established scene? What kind of lighting is more suitable for facial structure? Does every actor need a main light, or can one main light be enough for all actors? Can one lamp cover the action? Or does a certain actor need several key lights?