Table of Contents
1. Indoor Hard Light
The role of the hard light source is to add a touch of color and impact to the portrait photo. Highlight the shape of the model and enhance the sense of three-dimensionality.
In the studio, this kind of light is usually a small range of unscattered hard light. It can often bring people a sense of vigor and vitality. And with obvious directionality, it will make the model have a sharp contrast between light and dark, which will help the performance of texture.
Hard light is usually used to focus on the description of hair, human body contours and the environment. Below we introduce several ways to use hard light with other light sources.
First, let’s take a look at the most commonly used hard light source in photo studios-floodlights. The light it emits is direct hard light, with high brightness, strong directivity, high contrast, and dense projection. In addition, the light value is high in the center of the optical domain, and the edge is significantly attenuated. So the distance between the light and the characters is particularly important.
1) Hard Light + Umbrella Light + Soft Light
Reflective umbrellas of different textures and specifications are installed on the floodlights to become umbrella lights. Umbrella lights are characterized by large light-emitting area, soft light, and weak contrast.
Adding a diffuser to the caps of various flash lights becomes a soft light. The light emitted by the soft light is formed by mixing the direct light emitted by the flash with the reflected light of the reflector, and then transmitting and diffusing through the soft light.
The feature of soft light is that it can provide average and sufficient lighting. The light it emits is soft, but the direction is generally stronger than that of umbrella lights. The contrast is clear, the projection is thicker than the umbrella lamp, and it has a good level of performance. Sometimes in order to increase the color atmosphere of the picture, adding a whole piece of colored paper in the diffuser will make the transition of the color and light effect better.
The effect of combining hard light and soft light
The combination of the above two light sources and hard light sources can make up for each other’s shortcomings and add more atmosphere to the picture. Under normal circumstances, we first use the umbrella light source and soft light source to illuminate the model’s face while illuminating the background. The main purpose of this is to make the model skin look more delicate and make the entire picture have a balanced brightness, and its position does not need to be moved.
Adding a hard light source to illuminate the model can increase the three-dimensional sense of the picture and improve the clarity. However, this kind of emphasized light cannot be fixed at an angle, so it can be changed according to the basic light rule and the person’s turn according to the effect the photographer pursues. Its intensity can exceed the first-level aperture of soft light and umbrella light. Due to the difference in light quality, even if the intensity of a hard light source is the same as that of soft light and umbrella light, it will produce a very vivid effect.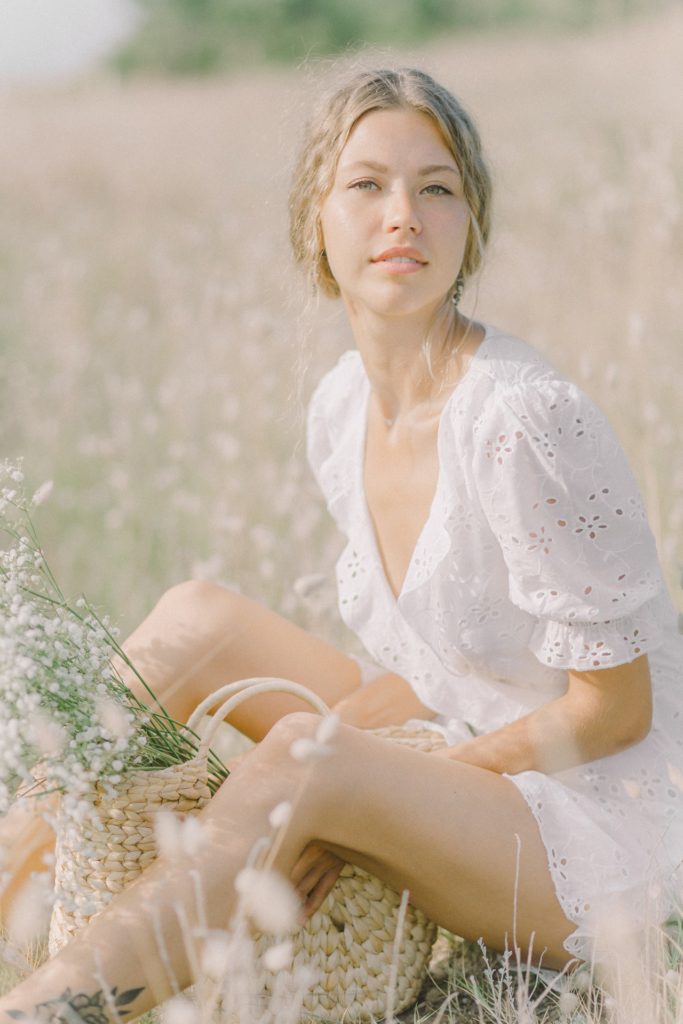
2) Hard Light + Color Light
Color light refers to adding color chips to various flash lamp caps to change the light color, thereby playing the role of creating an atmosphere. The color chip can be made into different sizes, which can be placed in front of the hard light source or added to the outside of the diffuser.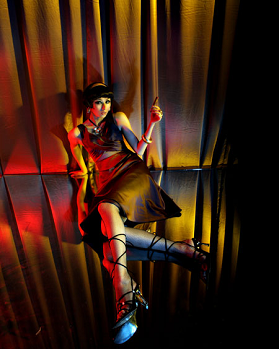
3) Color light hard light source + continuous hard light source
A continuous light source refers to an artificial light source that emits light for a long time. Generally, there are many kinds of color temperature of this artificial light source. Among them, the lower color temperature will make the skin of the person look healthy. But usually the color temperature of this kind of light will be slightly lower than 3200K, if the flash white balance mode is used, the picture will have a serious color cast. Therefore, it is recommended to use the incandescent white balance mode, because it will achieve good shooting results. If the picture is a color tone, the atmosphere will appear monotonous, so use the instant light source to add color films to create the atmosphere to achieve better results.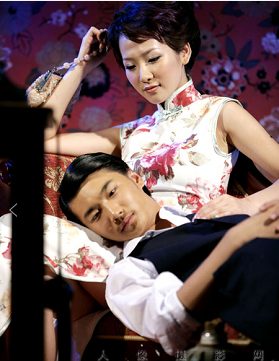
2. Outdoor Hard Light
For outdoor photography, the hard light sources usually used include direct sunlight or artificial flash light sources. Of course, sunlight is restricted by time, climate, and direction, and artificial light sources can make up for its shortcomings. It is worth noting that the flash does not have to be dim in order to use the flash. The advantage of using the flash is to highlight the subject with natural light.
1) Direct sunlight + ambient light
Usually direct sunlight is our most common kind of hard light source. It has the advantage of high luminous intensity, and proper use will make the picture look rich in layer changes and make the characters have a clear outline. However, the brightness of the ambient light will be much lower than direct sunlight, so it is not suitable for shooting at all times. Usually avoid the midday sun.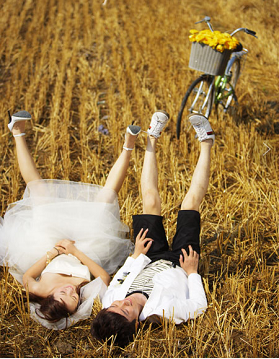
Direct sunlight makes the picture look rich in layer changes, so that the characters have a clear outline
2) Direct Sunlight + Artificial Light
Direct sunlight is a hard light source. The main purpose of using man-made equipment is to make up for the dark side of people when the sun shines on them. Usually we use reflectors to fill in the light. However, for direct sunlight, soft reflectors (such as foam boards, KT boards, etc.) cannot achieve good results, so hard light reflectors (such as tin cardboard, mirrors, steel plates, etc.) should be selected.
Of course, the outdoor flash is our better choice. We use it in combination with sunlight, there will be more variability. Photographers can use it as the main light to illuminate people. Or as a contour light to highlight the three-dimensional effect.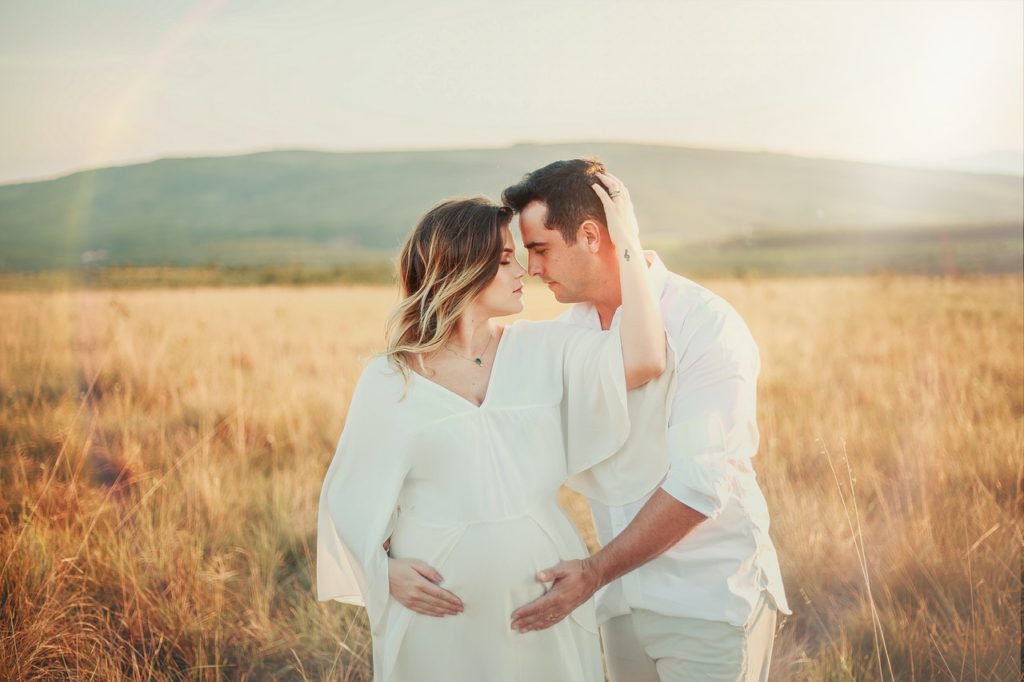
3) Scattered Light + Artificial Hard Light
The contrast of the picture taken in a cloudy sky is small. So the use of hard light can improve the three-dimensional degree of the picture. We should determine the exact amount of exposure when taking pictures on a cloudy day. But you can also try to slightly underexpose. Because the normal exposure is often not as good as the slightly underexposed effect on cloudy days. The exposure level minus 0.5-1 level will not affect the performance of the bright and light parts of the object illuminated by the cloudy scattered light. But will help the dark and dark parts to accentuate the tones. And increase the tonal contrast of the entire picture.
At this time, the intensity of the outdoor light can exceed the environment, and the ratio is usually 1:2. Because the brightness of the whole environment is not high, it is easy to control the tonal relationship between the character and the environment after adding the outdoor light. If a larger light ratio is used, it is very easy to shoot the day into the night.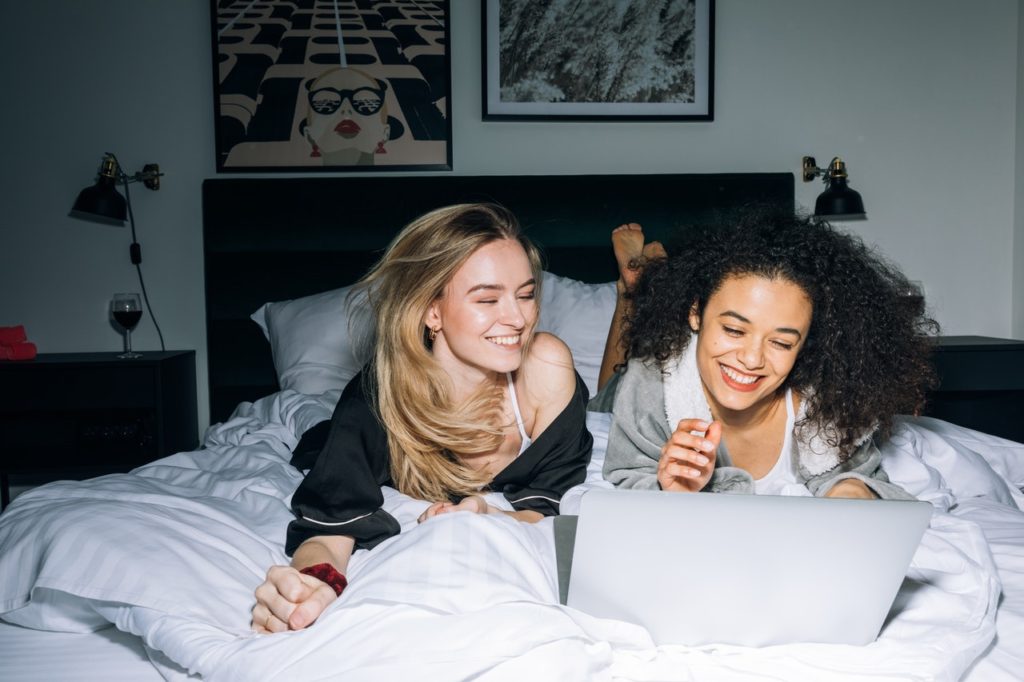
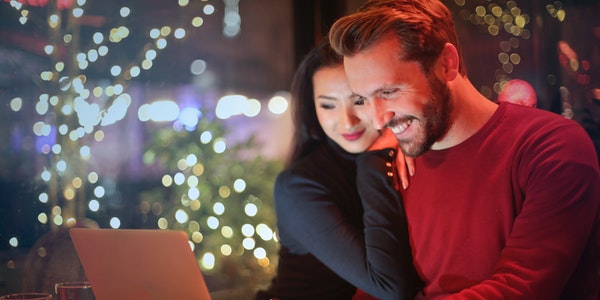
4) Night Environment + Artificial Continuous Hard Light Source
The light environment at night is very complicated. And all possible ambient light sources should be used as much as possible to meet the shooting needs. Even so, the ambient light at night is not enough to illuminate the characters. So artificial continuous hard light sources should be added for use. Usually you can use a high-brightness handheld flashlight. Of course, it is most convenient to choose an outdoor flashlight that has both a flash function and a continuous light source. If the venue conditions are good, we can also use spotlights.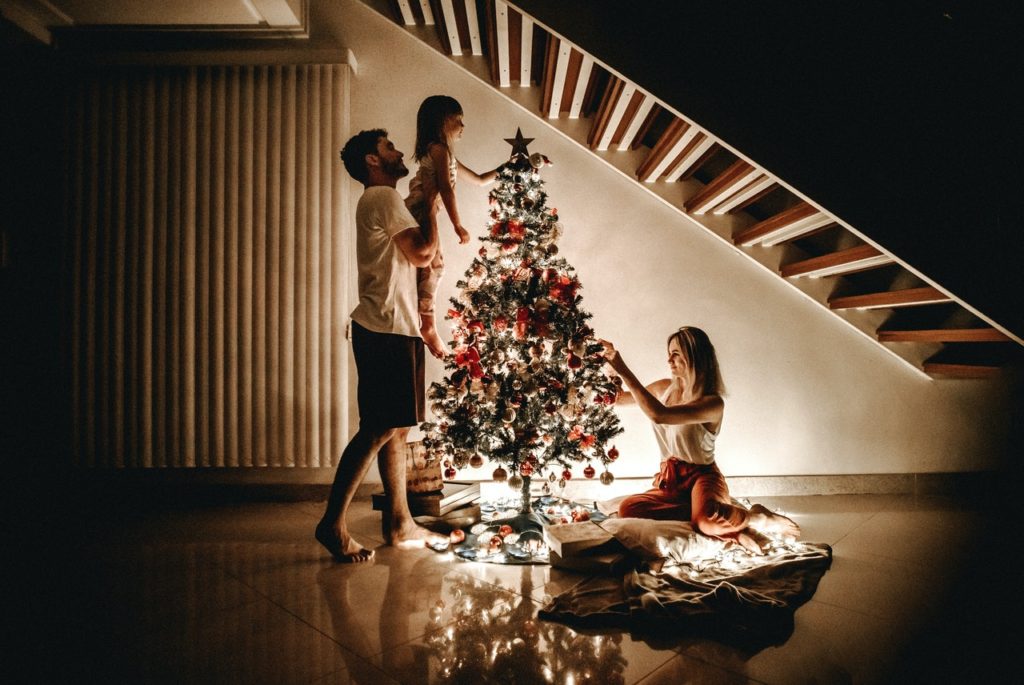
The night light environment is complicated, and photographers generally use artificial continuous hard light sources to shoot