
Table of Contents
1. Prepare Equipment to Ensure Clarity
It is best to prepare two SLR cameras, a digital camera with 8 to 16 million pixels, and a film camera. One body is equipped with a 28-135mm lens, and the other is equipped with a 70-200mm lens. This makes it easier to capture. If you use black and white film, you can choose ISO400 and 800 professional high-speed film. When shooting, try to use a large aperture, which can increase the shutter speed and avoid blur.
2. Observe with Two Perspectives
In order to capture the best moments, we can see the personality of the models by observing the models wearing different styles of clothing. Selectively capture valuable moments, so that readers can see the unique artistic wisdom and keen observation and judgment ability of the photographer when they appreciate the pictures.
Because shooting fashion shows and model competitions is a category of photography between photojournalism and art photography, photographers must have a good artistic accomplishment and a keen sense of news. Only by observing, photographing, and thinking diligently in the shooting can we shoot outstanding and outstanding works.
Photographers who have the conditions can use two perspectives to watch from the whole process of tracking the model to shoot the location, to the rehearsal or preliminaries.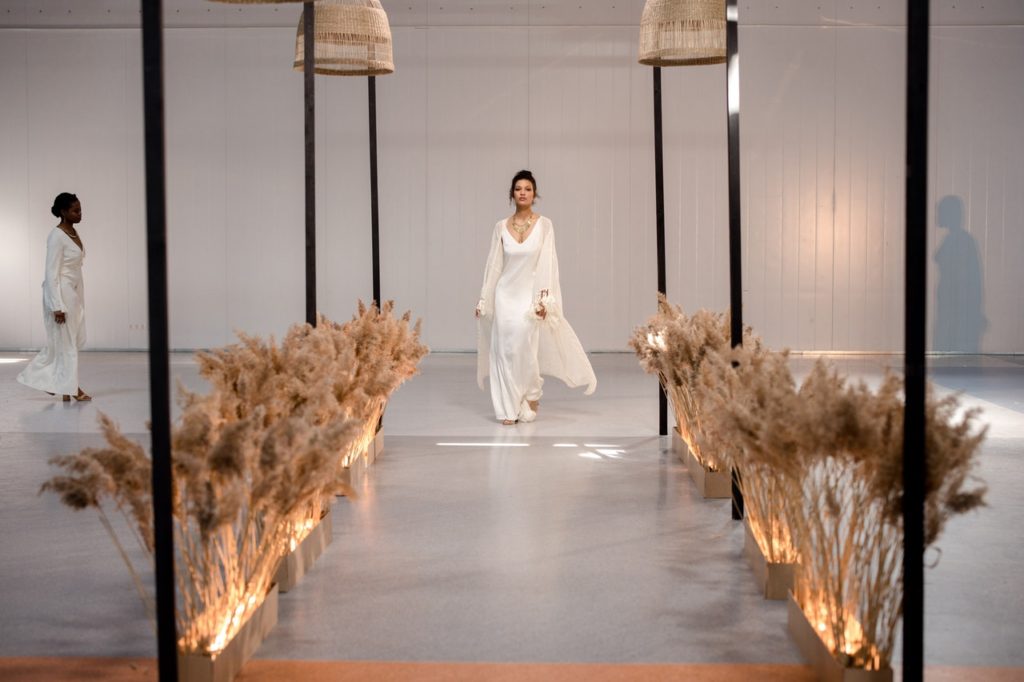
1), from the perspective of the judges:
See which models have the best temperament through live viewing, and they may become the champions of this competition. Be clear about the focus of this shooting.
2) Using the photographer’s perspective:
By watching and shooting previews, preliminaries, familiar with the entire performance or competition procedures, to understand the display ability and temperament of all models. Know which moments have news value and artistic value, and be familiar with specific clothing styles to determine the best shooting angle. In this way, you can have a good idea in the formal capture, that is, grasp the key models, key moments, key scenes, key light effects and key shapes.
3. Snapshot Essentials
Whether it is a fashion show or a model competition, it must be observed, understood, and refined on the spot.
On-site observation is to carefully observe the posture, clothing, and style of each model, and to dig out his rich facial expressions and body language in various poses. Observe the dense relationship between the model and the dress and the background when the model walks on the stage, and capture the movement of the model’s dress during the movement, and so on.
When capturing, hold a camera to track and focus the model in motion, and capture the beautiful posture and shape of the model in the display. Don’t put down the camera to watch, if there is a beautiful moment at this time, you will be caught off guard and lose the opportunity.
On-site understanding and on-site refining means that in the wonderful interpretation of the model, the body shape is understood as the point, line, and surface in geometry. Through judgment, the model’s body shape, curve, personality and fashion factors of clothing are frozen into a work in an instant.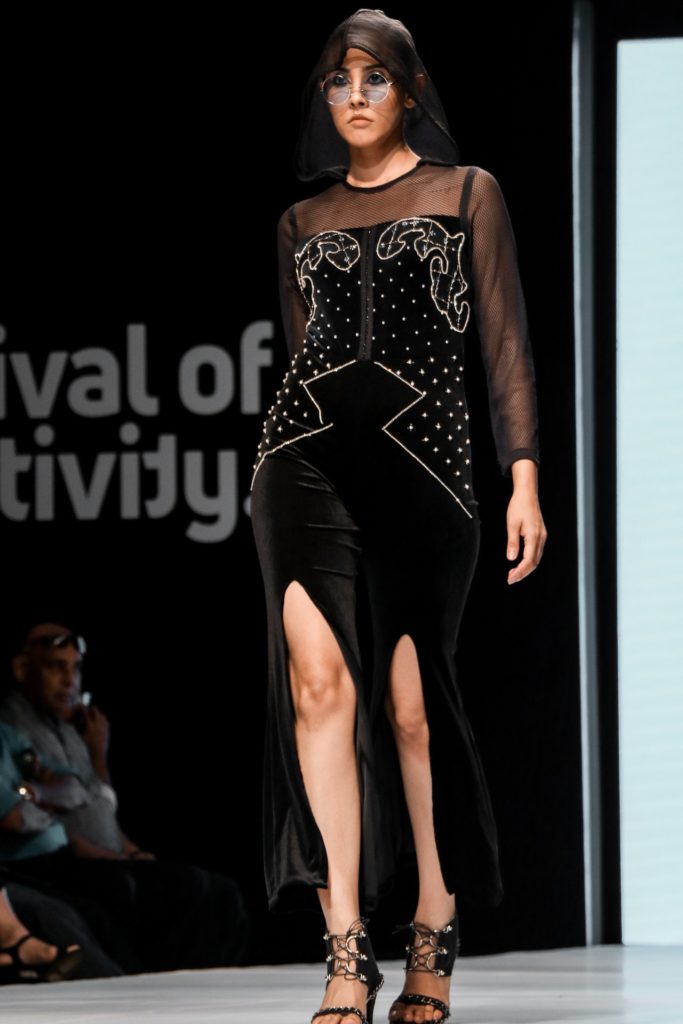
Lighting Settings
Due to the needs of the display, with the rhythm of the music and the artistic effects of the stage design, the illuminance of the light changes impermanently. To ensure accurate exposure, you can set the camera to the aperture priority in advance and the aperture to the maximum value.
During shooting, the camera’s shutter will automatically adjust with the intensity of the lighting, so that the captured image is clear. If the light is dim and the shutter speed is too low, you can increase the camera’s sensitivity to ISO400 or 800, and if necessary, you can also increase it to ISO1600. But generally, the particles of the images taken with ISO1600 are very coarse. And the saturation and transparency of the colors are somewhat reduced.
Generally, the color of the light source on the catwalk is warm and white. Adjusting the color temperature of the camera to about 3200K before shooting will reduce the yellow component in the photo. The metering mode should be determined according to the subject being shot. Either center-weighted metering or average metering can be used. For large scenes or medium scenes, average metering can be set. When shooting close-ups, the metering mode should be set at the center focus.
4. Shooting Highlights
Don’t leave the scene immediately after shooting a wonderful model contest. As the saying goes: “The good show is behind.” In my personal experience, wonderful tidbits often appear after the game.
After a brutal competition of “choose one from a thousand miles”, after all, there is only one safflower. When they were about to separate, some hugged each other to congratulate them because they won the prize. And some walked to the side and cried secretly because they were eliminated. These touching tidbits and moments of true feelings are a good time to take pictures.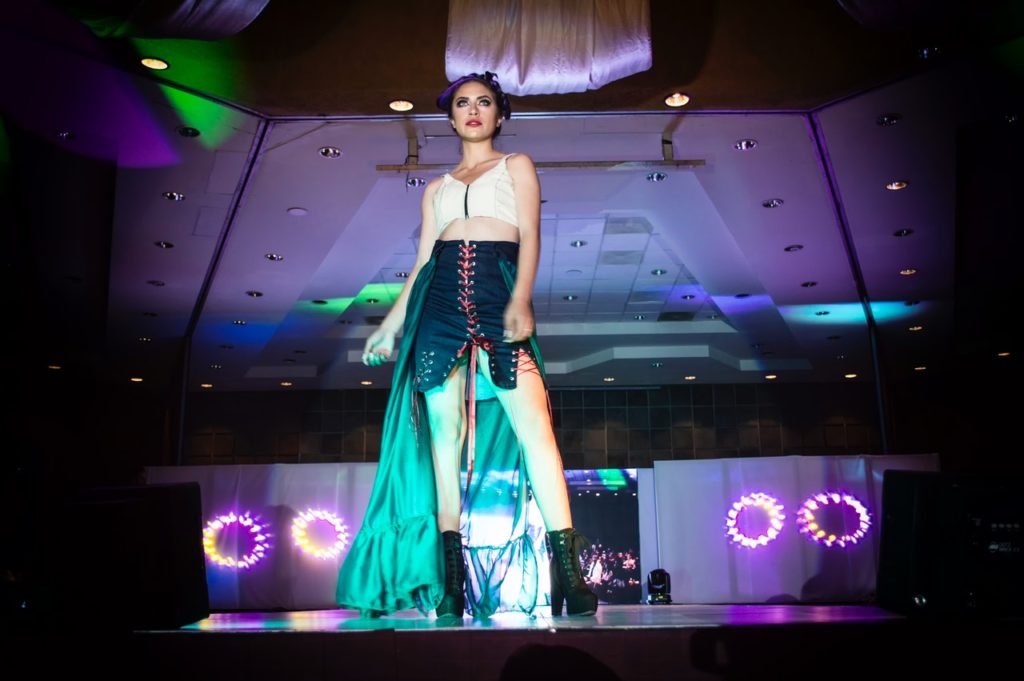
Four Essentials of Stage Photography
Stage photography has long been familiar to people. On the surface, stage photography and other photography categories (such as portrait photography, landscape photography, etc.), the basic shooting requirements and artistic processing methods seem to be no different. But after careful analysis, it is still different. The main difference is that shooting stage photos often requires feeling and experience to complete the composition in a very short time and press the shutter quickly. This requires the photographer to have excellent shooting techniques and artistic processing skills.
However, stage photography creation also has rules to follow. Especially in terms of technology, some methods can become essentials, so that beginners can avoid detours. Taken together, there are four aspects.
1. Selection of Shooting Location and Angle of View
To take stage photos in a theater or a square, you must first choose a shooting location and angle of view.
Generally speaking, it is good to find a position that is a little bit off, and it will not hinder the audience. The viewing angle is also very important. If the angle of view is too high, the characters will be distorted. The angle of view is low and the feet of the person cannot be seen (it is a different matter to shoot a part or close-up). The angle of view is better to be able to see the stage surface.
Beginners often like to find a location in the middle of the theater to shoot. Thinking that it can capture the front of the character and the complete stage scene. As a result, the body shape of the photographed characters is dull, the lighting shape is dull. So the picture effect will be mediocre.
This is because, usually, the layout of stage lighting is that the front light is stronger.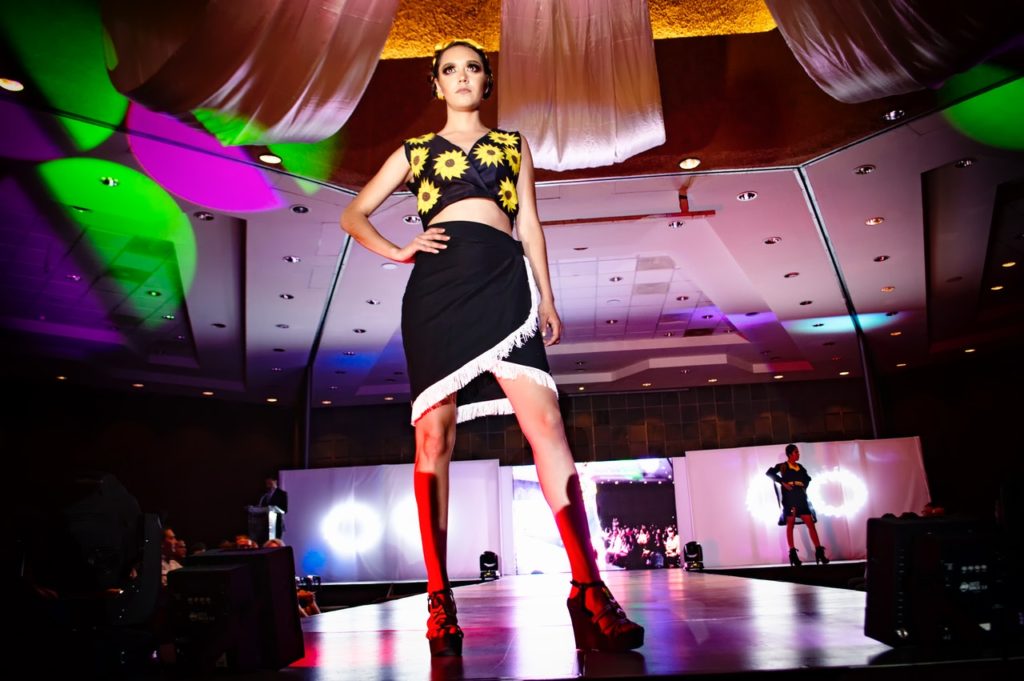
This kind of front light will weaken the relationship of the characters’ sketches. And the sense of space and layering of the characters’ modeling will be diluted. The light and shadow effects are also dull. Choose a slightly off angle to shoot.
The characters have a combination of front light, side light and back light, plus a variety of different color light sources. The layering and light and shadow effects of the picture will naturally be reflected, especially the sense of space flow. Will be enhanced.
2. Try to Stabilize the Camera as much as Possible
To take good stage photos, the stability of the camera is very important. Usually, when taking stage photos, the shutter speed is often controlled at 1/60 second. The purpose of this is to make the movement move and the quietness to go down. So that the photographs taken have a clear main image, and the picture has a sense of flow.
To achieve these goals, the camera’s stability cannot be ignored at a shutter speed of up and down 1/60 seconds (especially less than 1/60 seconds). Another factor, because in order to achieve the effect of making the picture have virtual and real changes. Often the aperture should be enlarged as much as possible. Doing so will cause the depth of field to get shorten, the camera shakes slightly. And the sharpness of the picture will be affected. Therefore, using a tripod or monopod to increase the stability of the camera is quite critical. 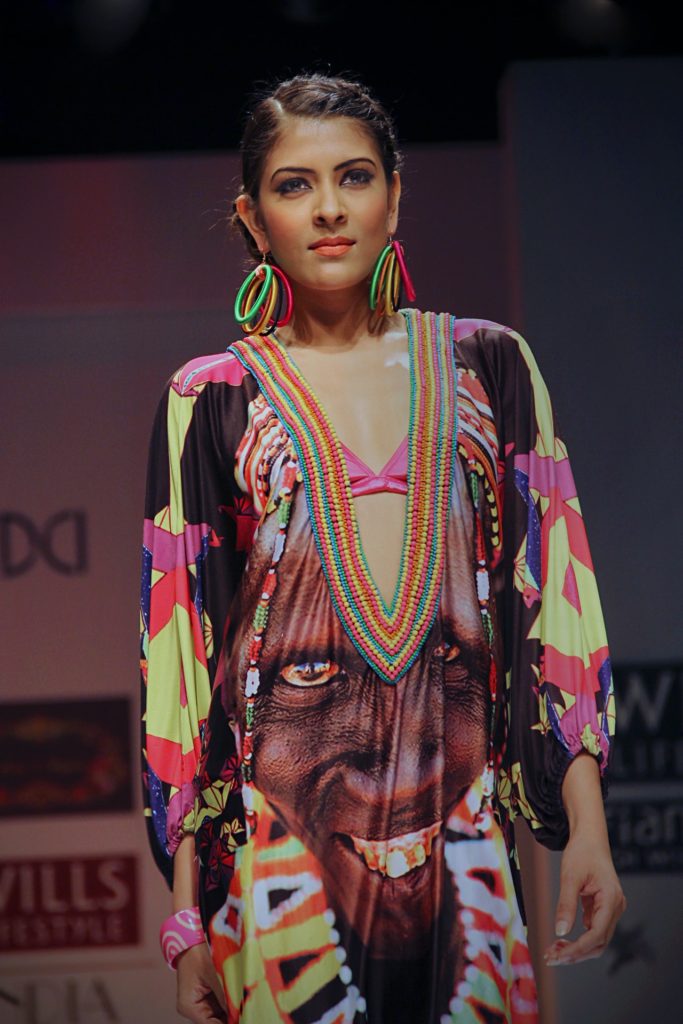
3. Don’t Use Flash for Exposure
Stage photography has gradually developed from a purely documentary type in the past to a creative type now. This change is also the process of stage photography from being practical to artistic. Shooting with the help of a flash is nothing more than trying to capture the picture more clearly. The consequence of this is that the light of the flash dilutes the unique lighting and color effects of the stage. And even the stage effect is completely lost. And these effects are precisely the essence of stage photos. Therefore, strictly speaking, it is not advisable to use flash when shooting stage photos. Of course, sometimes because the stage light is too weak, or just to take a still photo, flash can also be used. But the photos you take will definitely lose the stage effect.
4. It is Important to Set a Proper Aperture
As a means of controlling the depth of field, the aperture is also quite knowledgeable in stage photography. If you use it properly, the photos you take will have better results.
Set the aperture according to the distance
In live shooting, there is a certain distance between the camera and the stage. And the stage itself has a depth, the sum of the two is generally more than 10 meters. If you don’t use a large aperture, the picture you take will be unobstructed, lacking a sense of primary and secondary, let alone a change in reality.
Especially in non-theatre (such as stadiums, squares, etc.) to take stage photos, most of the background (sky curtain) is relatively simple. If the background is clearly taken into the picture, it will inevitably affect the overall effect of the photo. And by zooming in the aperture to control the depth of field, the background can be blurred. The blurred background accentuates the front subject. After the background is blurred, the hazy effect has a more formal beauty.
The effect of aperture on exposure
Even when taking stage photos in a formal theater, the proper use of the aperture is also very important. Because the shutter speed is controlled at about 1/60 second, the aperture should be adjusted according to the intensity of the stage light. This adjustment must not only adapt to the shutter speed determined by the speed of the people on the stage. But also take into account the effect of different depth of field due to the size of the aperture. If the aperture is set too large, it may underexpose. If the aperture is too small, the effective range of depth of field will be too long. And the background will not be blurred.
It is a consensus that photographers require a large aperture to take stage photos. However, the appropriate aperture should be determined according to actual shooting needs. It is based on what kind of picture effect the photographer needs to achieve to determine how large the aperture should be opened and set the corresponding shutter speed. The size of the aperture will directly affect the effect of the picture.