With its unique visual shock, the snow scene makes every photographer have the urge to press the shutter. However, the light is different in snow scenes, and you need certain shooting skills.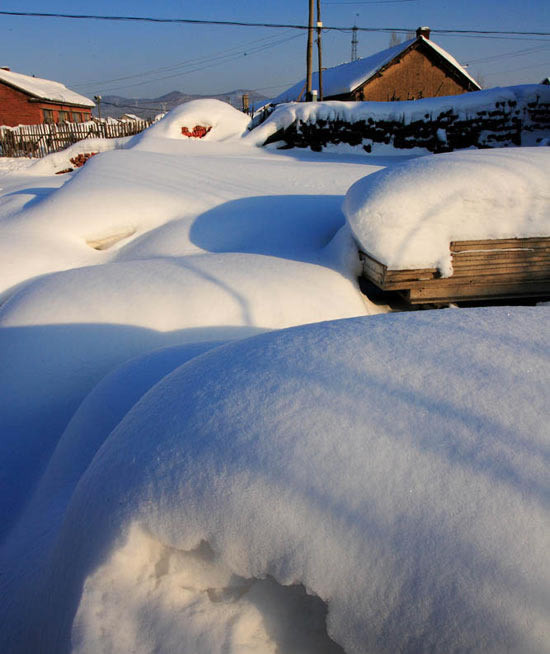
Table of Contents
How to Use up the Snow Scene?
1. Try to avoid backlighting
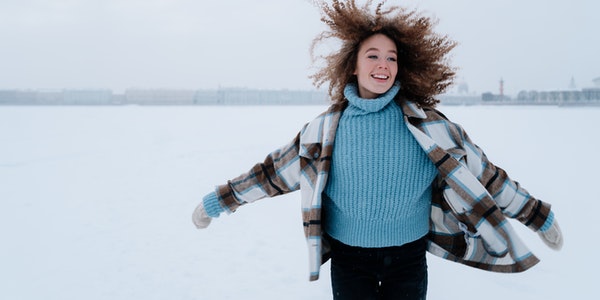
When shooting snowy portraits, in addition to reasonable composition, try to avoid backlighting. Because the exposure value of human skin and snow is very different, that is to say, in order to ensure human skin color, the snow will be pale and dull. Conversely, ensure the exposure of the snow, then the face will be underexposed and the color will be dark. Therefore, when shooting portraits, use 30-60 degrees of forward light and press the palm of the hand (female) and the back of the hand (male) to meter the light, and subtract one-quarter to compensate the exposure (when the exposure is not manually). This will ensure both the portrait and the background.
2. The use of side light
When shooting scenery with people as a foil, it is better to use side light. According to the metering result of the camera, the exposure can be normal. But also pay attention to the proportions of far, medium, and near shots, and the echoing relationship of colors.
3. Accurate metering
When shooting pure snow sceneries, the light consumption and metering must be very accurate, and it will fail if you are not careful.
(A) When shooting large snow scenes, the exposure is based on the highlight area, so that the charm and lines of the shot are beautiful.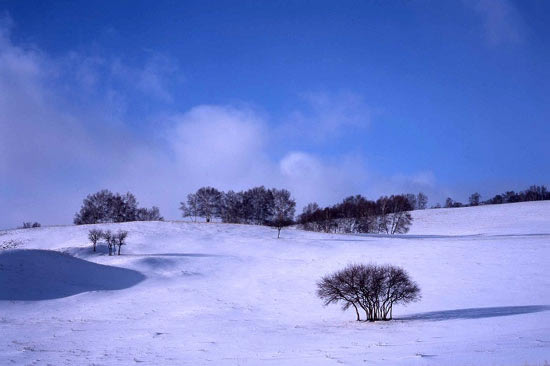
(B) When shooting a snowy forest with a 0.5-1 stop exposure, the black trees interfere with the camera’s metering.
(C) Choose to shoot morning and evening when shooting mountain snow scenes. Because the light at that time was very fascinating, and the shooting was based on average metering.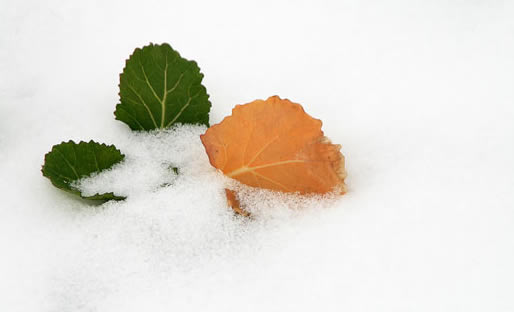
(D) The main consideration is to highlight the texture of the snow when shooting the sketch. Generally, the exposure is average or under-level, but sometimes the exposure is appropriately increased according to the brightness of the subject. The key is to see what you want to show.
(E) When shooting high-profile movies, generally choose “false cloudy” or misty weather, and increase the exposure by 1-2 levels.
Why It Is Always Recommended to Undershoot Exposure When Shooting Snow Scenes.
- First consider the fixed image medium, film and CCD.
(A) Under normal circumstances, the latitude of the negative film we use is -3 to +2 gears, which means that you can shoot at most 3 gears short and two gears behind when shooting. Once overexposed, the snow will lose its texture and layering.
(B) The CCD imaging latitude of a digital camera is even narrower, although only one block of overexposure, the texture and gradation will be lost.
- With the scanner we use now, the quality of the scanned image is particularly poor when the film is too thick.
- When shooting snow scenes, it is impossible for all the surrounding scenery to be white. Other objects and light shadows that are darker than snow will reflect our metering. Once the dark-colored objects and the light and shadow are too large, we will act according to the theory of over-exposure, and you can imagine the result.
- There must be room for later adjustments. As mentioned above, the latitude of the current cameras, especially the fixed images of digital machines, is extremely narrow. If the exposure is too high, adjustments will be difficult. If you follow the suggested approach, even if the exposure is not enough, there will be no major flaws, and it will be adjusted later.
Filter Application When Shooting snow Scenes
Digital cameras can already adjust various colors and effects in the later stage, so color filters do not need to be considered at all. In addition to the conventional protective UV mirrors, only two types of neutral gray mirrors and polarizers are enough.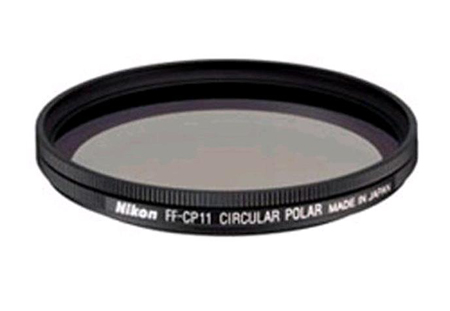
The snow reflects the sun extremely strongly. Generally, everyone will choose to shoot on a sunny day. At this time, it is very likely that the light is too strong, and the shutter speed limit is exceeded or close to the limit. At this time, you need to use a gray mirror to darken the scene.
Some friends may say, is it enough to close the aperture? We must know that landscape photography is a harsh test for the overall performance of the lens. Generally speaking, the best performance of the lens usually appears when the aperture is reduced by 2-3 stops. It is impossible to receive the minimum aperture and maintain excellent quality. So it is very helpful to have a gray mirror.
Another thing that needs to be brought is a polarizer, which is used to filter out polarized light and strong snow and ice reflections, improve the sharpness of the entire picture and reduce glare. This is a technique that everyone knows, so I won’t talk about it here.