Table of Contents
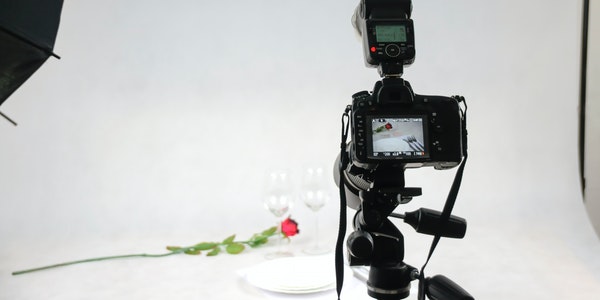
Photographic Studio Lighting Method
Lighting in the studio is often regarded as a very complicated problem, which requires specialized knowledge and rich experience to solve. In fact, if you follow some rules, lighting techniques are still easy to master.
Here only take the samples taken with the lighting of the Swiss “Prolinca” photography lamps as an example to introduce some basic lighting methods. These lighting methods are of universal significance and are also applicable to photographic lamps of other brands. I believe that after mastering these basic methods and improving lighting techniques, you can take ideal studio photos. I hope this can help you, and remember: “Playing creative performance makes you fun!”
In the studio, the photographer can completely control the light by himself, arrange the position of the strong light and shadow to create a beautiful photo, instead of waiting for the proper light from nature as in outdoor shooting. In fact, we think there is only one rule to follow, and that is “shoot if it looks appropriate!”
Male Portrait Photography Lighting
A. High Contrast Photos
A good photo of a male portrait should show the characteristics of the subject. Therefore, taking high-contrast photos is usually the most appropriate.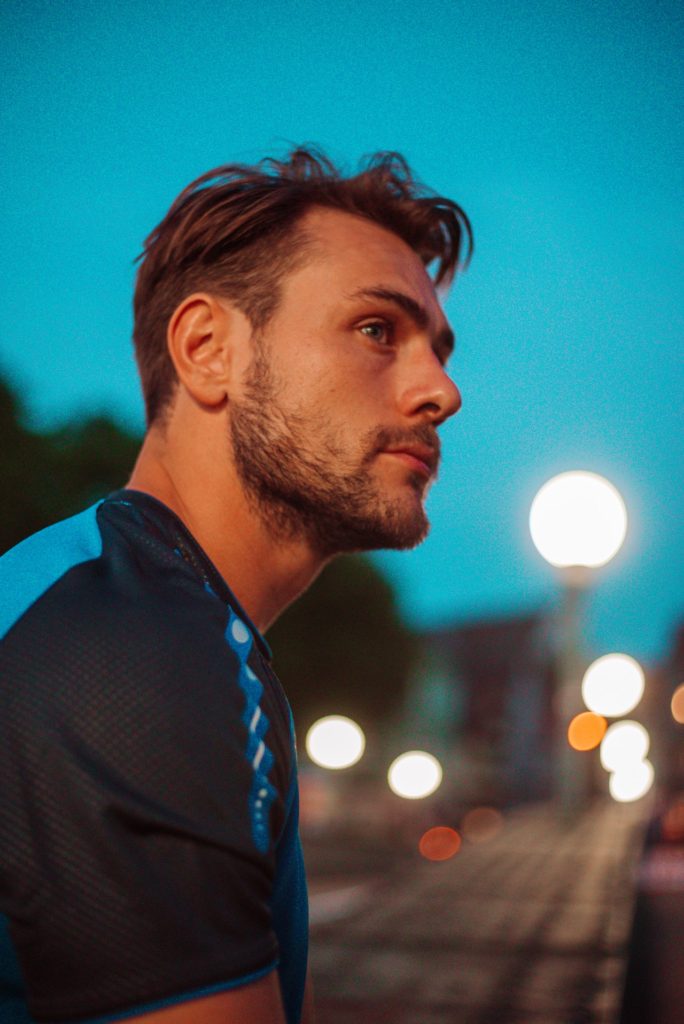
- Use a light source with a small beam. Its light is more concentrated and strong, which can show the texture of the skin. This kind of light source portrays male personality characteristics better than a light source with a larger amount of light. The light with a small beam is strong, but very soft. A light source with a larger amount of light is also desirable when shooting female portraits, because it diffuses the light and illuminates a large area.
- Using a simple lighting device, install a “Prolinca” 250 flash head with a standard reflector, and install a diffuser in front of the lamp cover.
- If a very hard light source is used, it should be carefully placed in an appropriate location. The use of suitable modeling light can make the shadow of the nose fall within the range of the cheeks and upper lip. This technique of using light is also very suitable for shooting men wearing glasses, it can avoid reflected light.
- Place a reflector on the side of the subject, so that the light on the first floor can illuminate the man’s ear.
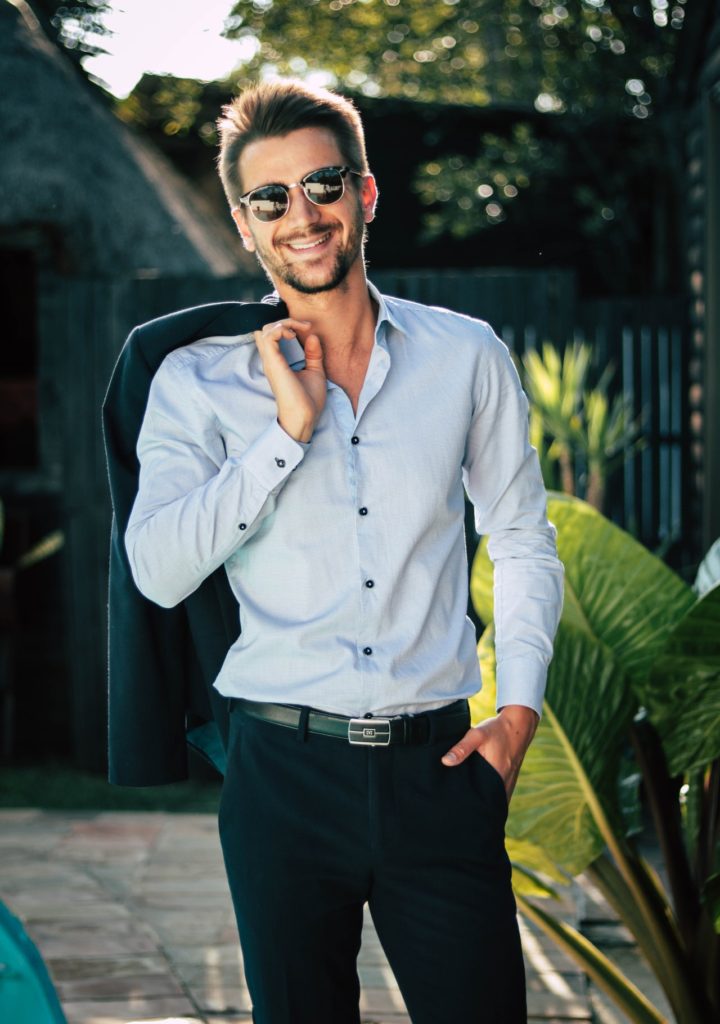
B. Prolinca Flash Lighting Method
The “Prolinca” flash lighting method provided in the following photo is suitable for taking ID photos or photos of people for publicity purposes.
- The “critical” step is to use the “Prolinca” illuminator against a reflective umbrella and shoot with reflected light.
- Another “Prolinca” 125 lamp holder with a condenser is placed on the right back side of the subject, facing the illuminating lamp and in line with it.
- This light technique is particularly useful when shooting office environments, as it can express a space with a sense of depth. The back light condensed by the condenser separates the subject from the background.
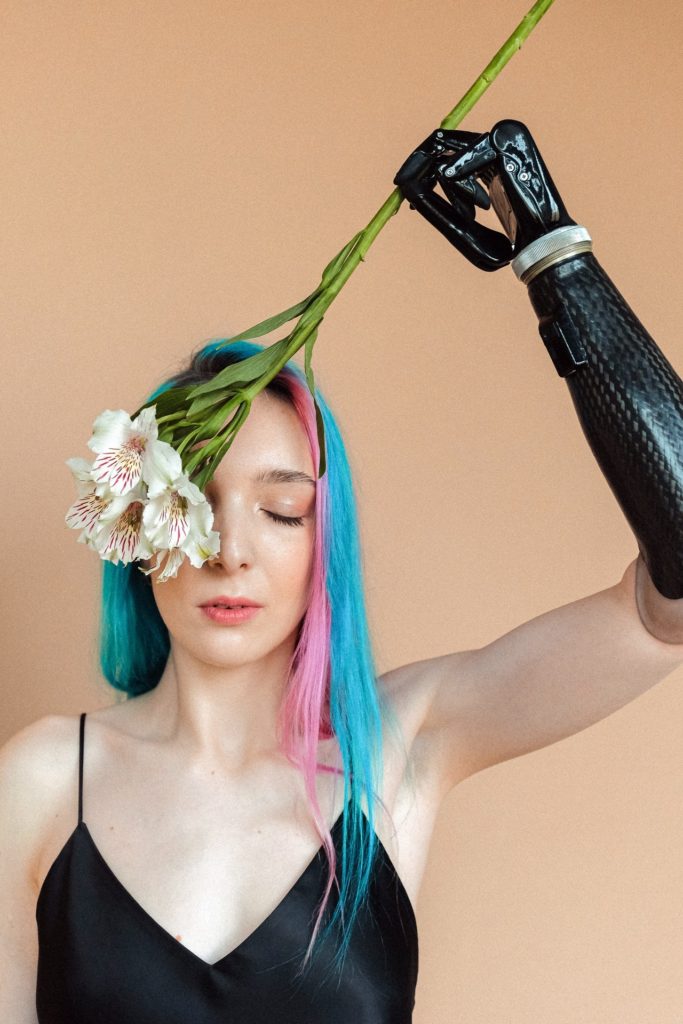
Female Portrait Photography Lighting
A. Standard Lighting
This is a simple lighting method for portrait shooting, using standard lighting principles:
- 1) The main light is the “Prolinca” 250 lamp holder, equipped with an ultra-white reflective umbrella, placed at a 45-degree angle to the subject, and appropriately elevated.
- 2) The auxiliary light is the “Prolinca” 125 lamp holder, which is placed on the right side of the camera. When shooting, scattered light is transmitted through a translucent umbrella.
- 3) The auxiliary light illuminates the subject through one filter layer, while the main light passes through two filter layers, and then reflects the strong light to the subject through the ultra-white reflector. The lighting ratio of the main light and auxiliary light should be 3:1.
- 4) Use the flash meter to obtain the comprehensive exposure index, so that the face is moderately sensitive without causing excessive contrast.
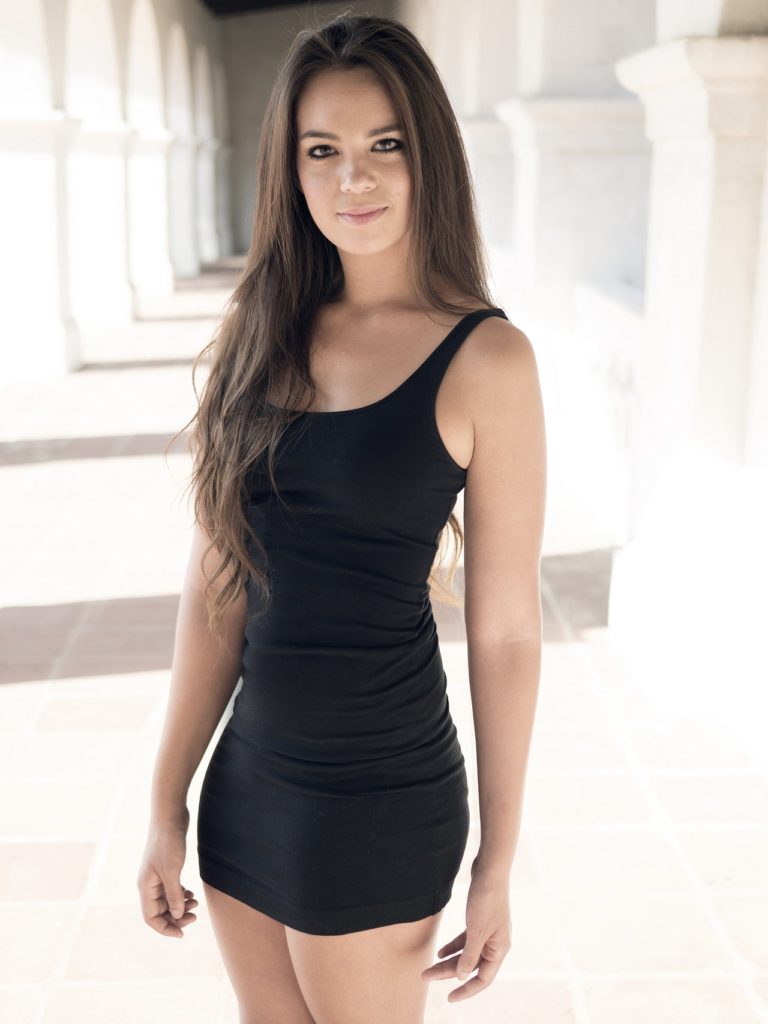
B. Fill the Background with Light
When shooting this portrait of a lady, we added a flash head to fill in the background light to separate the model from the background. This lighting method plays a good role in improving image quality.
- 1 ) On the “Prolinca” 125 lamp holder, install a reflective umbrella and a 32-degree honeycomb structure net cover, and place it on the low shelf behind the model.
- 2) This light source device uses a halo circle of light to shoot toward the background, and the halo circle’s light is reflected behind the model’s head.
C. Head Glow
Another way to illuminate the background is to use the light of the third light source device to project it on the subject’s hair, which is called “head glow”. This lighting method was used when shooting this portrait.
- 1) In this case, install a condenser on a “Polygia” lamp head, and place it on the upper right back of the second model, and the light is directed to the model’s hair.
- 2) The other light source that illuminates the hair should be placed on the same side of the main light to obtain the effect of natural light.
- 3) The principle of making the model’s hair obtain uniform auxiliary light by reflected light is that the amount of auxiliary light must be lower than that of the main light (“head light” is the main light), such as the flux of the main light is f/5.6, and that of the auxiliary light The amount of light passing is f/8-f/11.
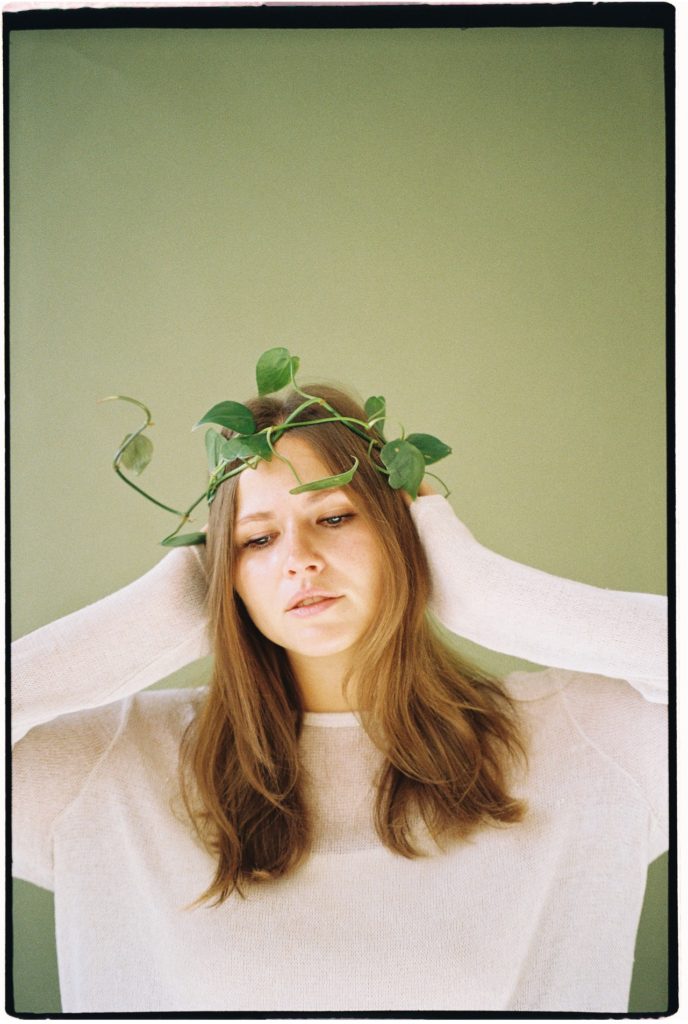
D. Reasonable Use of Head Glow and Background Light
To take a three-dimensional portrait photo, you must be good at using headlight and background light.
- 1) Use the “Polygia” 250 lamp holder, install a reflective umbrella and a 32-degree honeycomb net cover to create the background light, which can express the color well and help to set off the subject on the background.
- 2) Another “Polygia” 250 lamp holder equipped with a condenser should be placed at an angle that can highlight the subject’s hat and its texture with strong light.
- 3) The two light source devices that illuminate the face are “Polygia” 250. The main light is equipped with a white umbrella with a diameter of 85 cm, and the auxiliary light is reflected by a translucent umbrella with a diameter of 85 cm.
- 4) This lighting method is also used to shoot various other portraits.
High-gloss Portrait Photography Lighting
- 1) Two “Polygia” 400 lamp heads are used for the background light to make the background white. They are placed on both sides of the model’s head, the height is equal to the sides of the model’s head, and the height is equal to the model’s head.
- 2) Adjust the light power so that the background exposure exceeds the normal value by one to two apertures. Shooting is to ensure that unnecessary details in the background do not appear on the film. Be careful not to let the background light scatter onto the model’s head.
- 3) A “Polygia” 250 lamp head as the main light is directly placed on the top of the camera, and its light is reflected by a 6×6 cm lamp head directly placed in the portable soft box.
- 4) Place a large white mirror under the chin of the subject. The reflected light from the mirror can eliminate shadows.
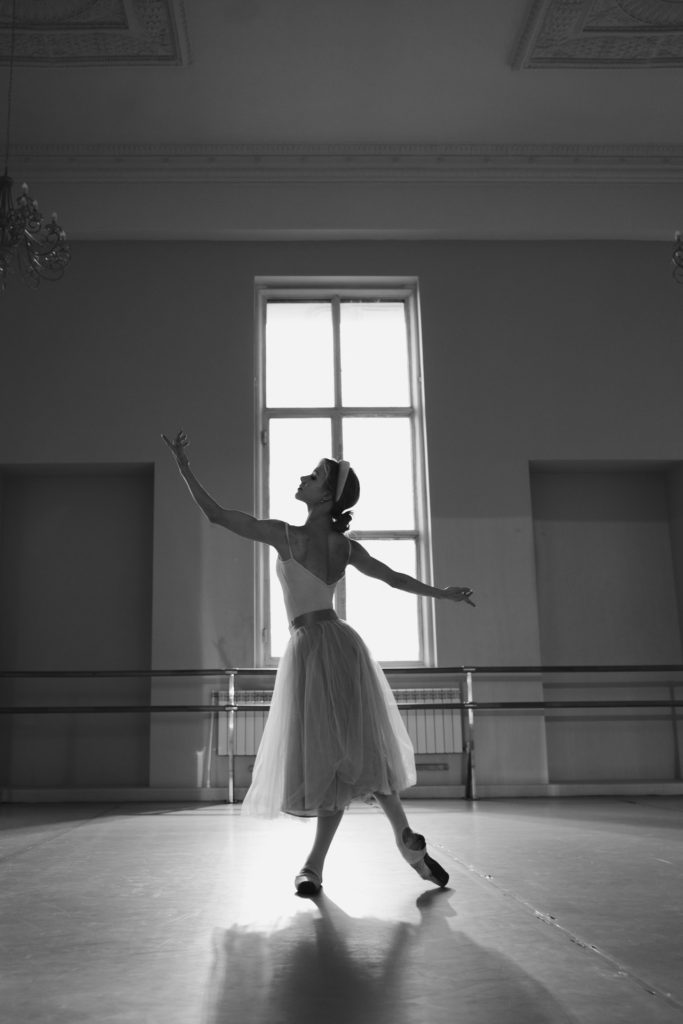
Halo Photography Lighting
This lighting method makes portraits lively and lively, so it is especially suitable for female portrait photography.
- 1) When shooting, place the halo light source behind the model, slightly lower than her, with the light source facing the camera. This kind of light can isolate the model from the background.
- 2) Install a reflective umbrella and a 32-degree honeycomb net cover on the “Polygia” 250 lamp holder.
- 3) Pay attention to the placement of the light source device, you should not see them in the viewfinder. The only visible light is reflected through the hair.
- 4) Place the light meter on the model’s hair and read the exposure data at the light source. Keep in mind that the exposure of dark-haired portraits requires more exposure than the exposure of golden portraits.
Children’s photography lighting
Because the child is very active, the best way to illuminate the child is to illuminate from the left and right sides instead of using the main light and auxiliary light.
- 1) This photo was taken with two “Polygia” 250 lamp holders and a translucent umbrella for lighting.
- 2) This two-place lighting method is to illuminate the children’s lively area with a large range of light. In this way, the amount of exposure does not need to be adjusted with the movement of the child. By using a translucent umbrella to diffuse light to the background, there is no need to use additional background light sources.
- 3) The advantage of translucent umbrella projection light is the soft contrast, suitable for taking pictures of children.

Double Portrait Photography Lighting
When taking photos of more than two people, place the light source farther away from the subject, and use a light source with a larger amount of light and a softer light.
- 1. Install the 100×100 cm softbox on the “Polygia” 400 lamp head, and place it at a slightly higher position near the camera to illuminate the light on the center of the subject to ensure that the light is even.
- 2. A translucent umbrella is installed on the second “Polygia” 250 lamp holder, and the light it casts can eliminate shadows.
- 3. The third light source is the “Polygia” 125 lamp holder, equipped with a reflector and a 32-degree honeycomb net cover, placed on the top of the back of the subject.
- 4. The fourth light source is the “Polygia” 125 lamp holder with a condenser for the background light.
Perfect portrait photography-soft box
Layered arrangement of light
The light in this photo is arranged in layers. The first layer is shot from the side to the background, illuminating the background while making it clear. It is also used to make the hair shine to distinguish the characters from the background. The main light source is placed close to the front of the subject, so that the light can shine around the person. This maintains a three-dimensional effect. The translucent reflector umbrella acts as a filling light source, and the silver reflector illuminates the shadows. The main light source and the filling light source also have a 1 f-stop gap. The setting of the background light is the same as the main light source.
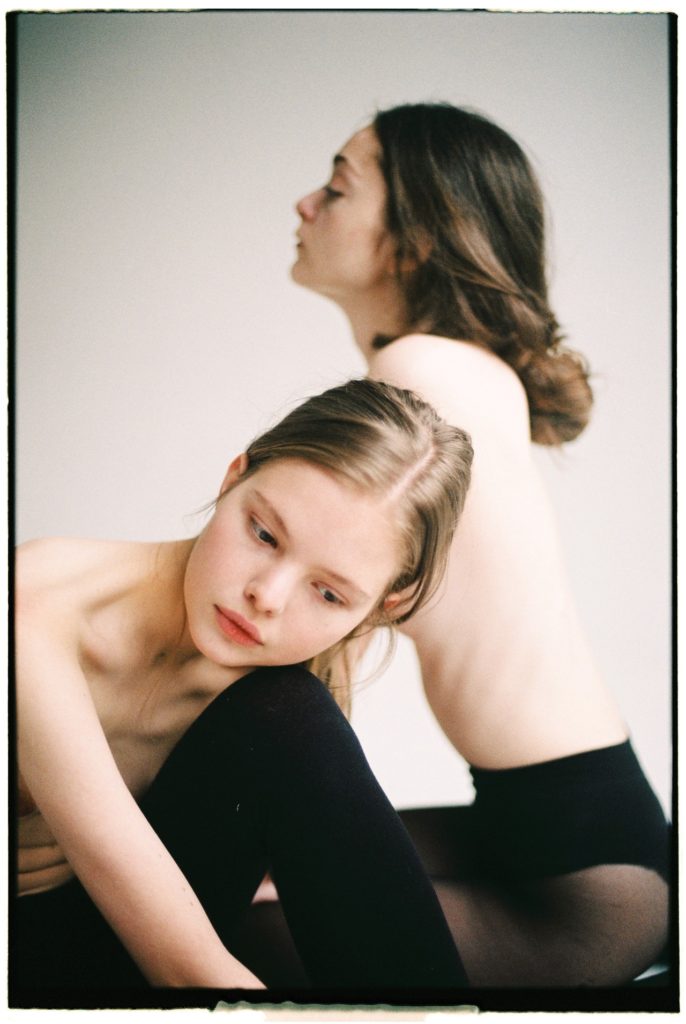
The magic of the soft box
This time we used two softboxes again. But this time they are combined to act as the main light source. The smaller 70cm softbox is placed on the ground, and the larger 100cm softbox is above him. This ensures that the light is evenly shining on the model closer to the lens. Look, there is no shadow under her chin.
Because the model behind is not in focus, she is only illuminated by the light of the honeycomb cover, creating a stronger contrast. Adjust the flash to make the light falling on the two models the same. The wall on the left side of the studio has a lighter tone, which reduces the contrast of lighting on the clothes.
Walked out of the studio and came to the house of an average family. Here, we use a 100cm softbox to make some changes to the light from the window, and take a more natural-looking photo. The other two light sources are also used. A filled light source equipped with a translucent reflector is used to illuminate the shadows.
The third lamp is equipped with a 16° honeycomb cover, placed behind the figure. This light not only makes the characters stand out from the background, but also illuminates the objects on the piano, otherwise they will be submerged in darkness.