Table of Contents
1. forward light
The illuminating light projected from the back of the camera to the subject and forming an angle of about 0°~15° with the optical axis of the camera lens is called forward light. The feature of forward light is that most of the subject’s face and body are directly exposed to light, the shadow area is small, and the tone of the picture is clearer.
With this lighting method, the three-dimensional sense of the subject’s face and body is not mainly formed by the contrast of lighting light, but is expressed by the subject’s own ups and downs. The following figure shows the effect of forward light lighting.
It can be seen from the photos that the three-dimensional effect of the subject’s face and arms mainly depends on the changes in tone caused by their own undulations. Compared with other lighting rays, when using forward lighting, the three-dimensional effect is weaker because of the smaller shadow area of the subject.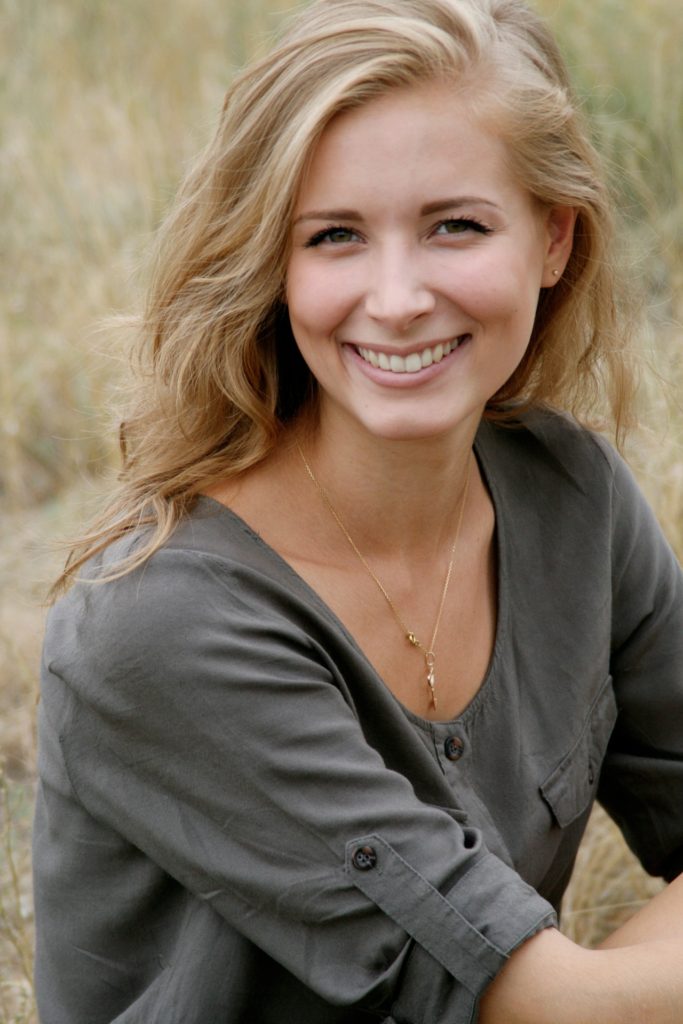
2. Front side light
The illuminating light projected on the subject from the direction behind the camera (left or right) approximately at an angle of 30° to 60° with the optical axis of the lens is called the front side light.
It is characterized by the fact that most of the subject’s face and body are exposed to light, and the resulting bright surface is large, forming a brighter tone. Part of the subject is not exposed to light and produces shadows, showing the subject’s light and dark distribution and three-dimensional shape .
The characteristic of this lighting method is that the three-dimensional shape of the subject is better than forward light, and the tone is clearer. Therefore, it is a kind of light commonly used for shooting portraits (indoor and outdoor). As shown in the figure below, it can be seen that about 2/3 of the face of the subject is directly exposed to light, forming a bright surface, while the shadow surface only occupies a small part.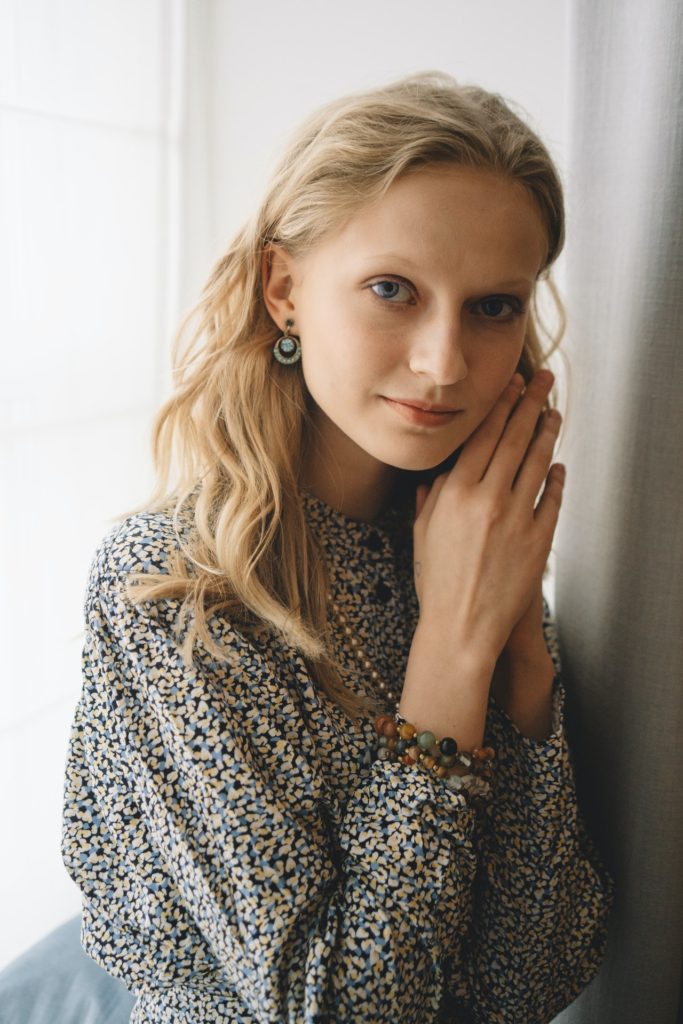
3. Side light
The illuminating light from one side of the camera (left or right) and the optical axis of the lens forms an angle of approximately 90° called side light.
Its lighting feature is that half of the subject’s face and body are exposed to light, while the other half is in shadow. The face and body parts have the strongest three-dimensional effect, which is conducive to showing the ups and downs of the subject’s face and body.
Although the side-light illumination increases the shadow area of the subject’s face and body, the tone of the entire picture is not as bright as the forward light and front side light, but the tone is not heavy. The light is projected on the subject from a position of about 90° from the side of the camera, half of the person receives the light and half is in the shadow. The three-dimensional form performs well, and the shadow adjustment is moderate.
At this time, since the shadow surface of the subject is gradually increasing, the tone of the shadow surface should be strictly controlled. If the intensity of the light and the tone of the shadow are more appropriate, you do not need to adjust the brightness of the shadow, and you can shoot directly. If the light is too strong and the shadow is too heavy, you need to use a reflector or other light-filling methods to slightly increase the brightness of the shadow to achieve the desired tone effect.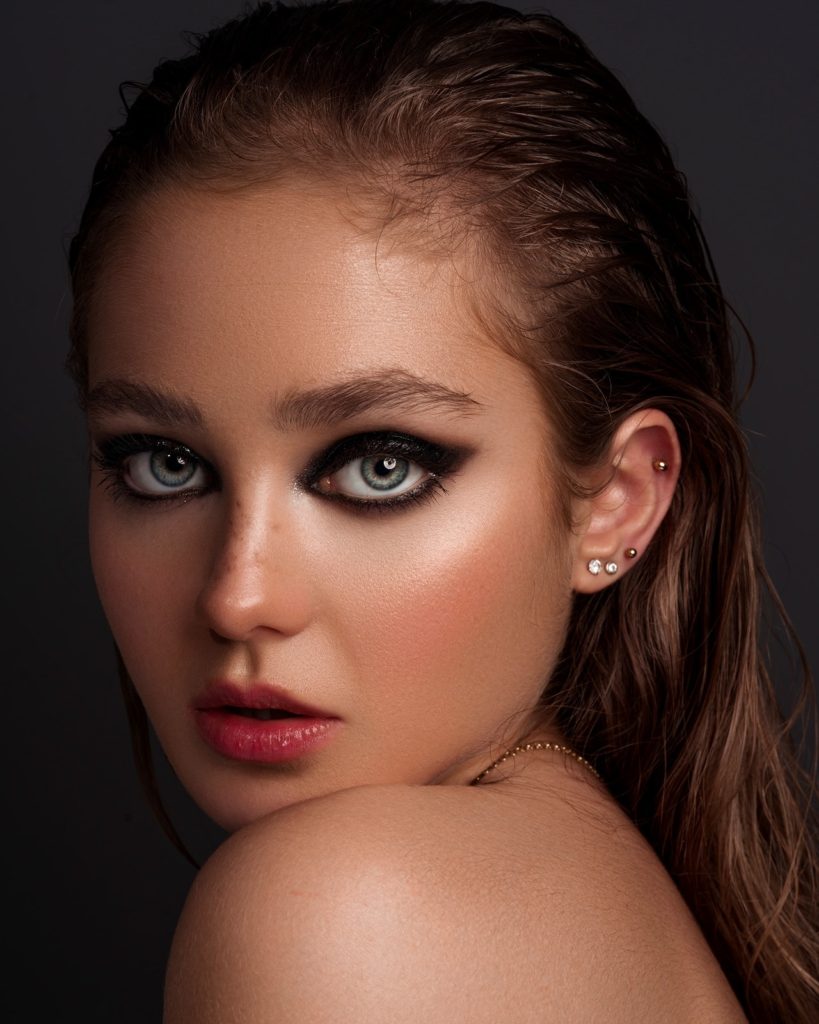
4. Side backlight
The illuminating light from the oblique front of the camera (front left or front right), forming an angle of approximately 120° to 150° with the optical axis of the lens, is called side backlight.
With side backlighting, the light-receiving surface of the subject’s face and body occupies only a small part, and the shadow area is large, so the tone is relatively deep.
With this lighting method, the subject’s three-dimensional sense is better than forward light lighting, but the shadow coverage in the image is weaker.
To shoot portraits in this situation, the control and adjustment of the shades of the dark parts of the characters are particularly important. Generally speaking, the shadow surface should not be exposed too little, so as to avoid too deep and heavy shades. Auxiliary lighting tools such as reflectors and electronic flashes are usually used to properly fill light, increase the brightness of the shadow surface, and modify the level of the shadow surface.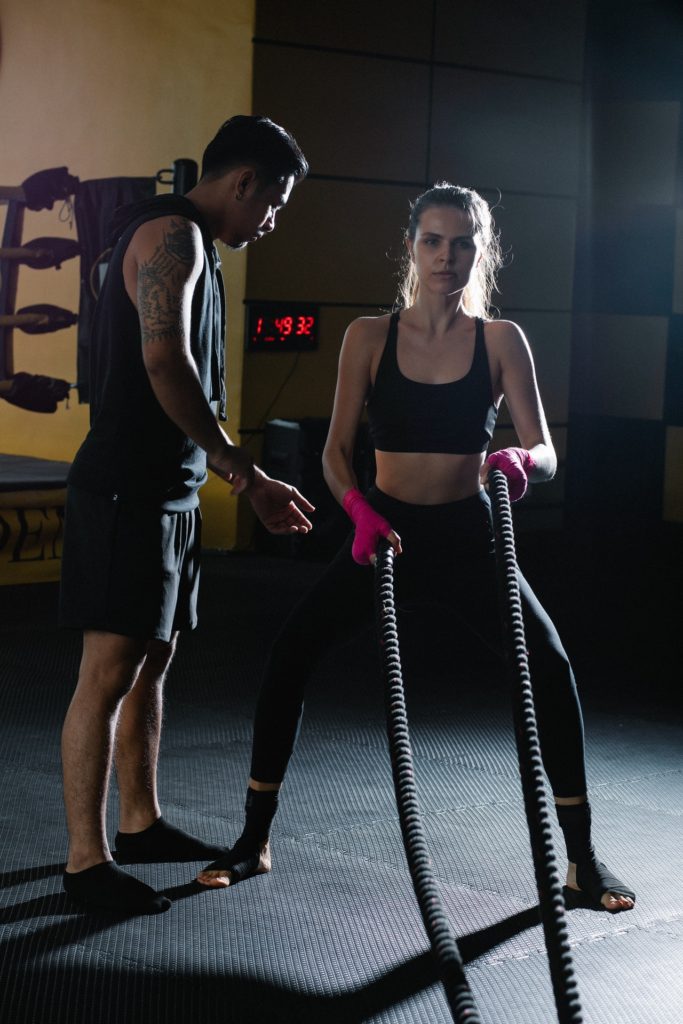
5. Backlight
Backlight is light coming from the opposite side of the camera and forming an angle of about 170°~180° with the optical axis of the lens. Its lighting characteristics are that most of the subjects are in the shadows, the tones appear heavy, and the three-dimensional sense of the shadow surface is also weak.
In most cases, the use of backlighting to shoot portraits requires the use of auxiliary lighting to modify the shadow of the subject, or increase the amount of exposure to preserve the level of the shadow of the subject.
With backlighting, sometimes bright spots and contours can be formed on the person’s hair and shoulders (sometimes also on the face), while the subject’s face is in shadow. When shooting with this kind of light, it is best to choose a dark environment as the background of the character to bring out the bright outline of the subject and to set off the character from the environment.
For the choice of light projection direction, there are different processing methods for portraits in photo studios, portraits in specific indoor environments, and portraits outdoors.
For portraits in the photo studio, the position of the lighting light can be selected by the photographer to achieve the change of the lighting direction, and the face of the subject generally does not need to be changed to adapt to the direction of the projected light. This is not true for portraits in certain indoor environments.
Since the direction of the indoor window is fixed, if the lighting direction is required to change, it can only be solved by changing the face direction of the subject (it is another matter if lighting is used in a specific indoor environment). As for outdoor portraits, the lighting direction can be changed by choosing the direction of sunlight projection, and by turning the face of the subject to form the desired light effect.
Natural lighting method for portrait photography
When photographers use indoor lighting, they usually want a natural feel. The lighting technology used in this example will simulate natural light. But when shooting portraits in the studio, there are many opportunities to use real natural light. The most typical natural light is the light coming in from the window. When using this technique, the object must be close to the window to produce a real Rembrandt lighting effect.
Since the camera cannot be placed in a wall, the direction of the light will be more restricted. Sometimes it is necessary to deflect the object slightly in the direction of the light, as shown in the picture. If you move the fill light board closer to the object, you can brighten the tone of the photo.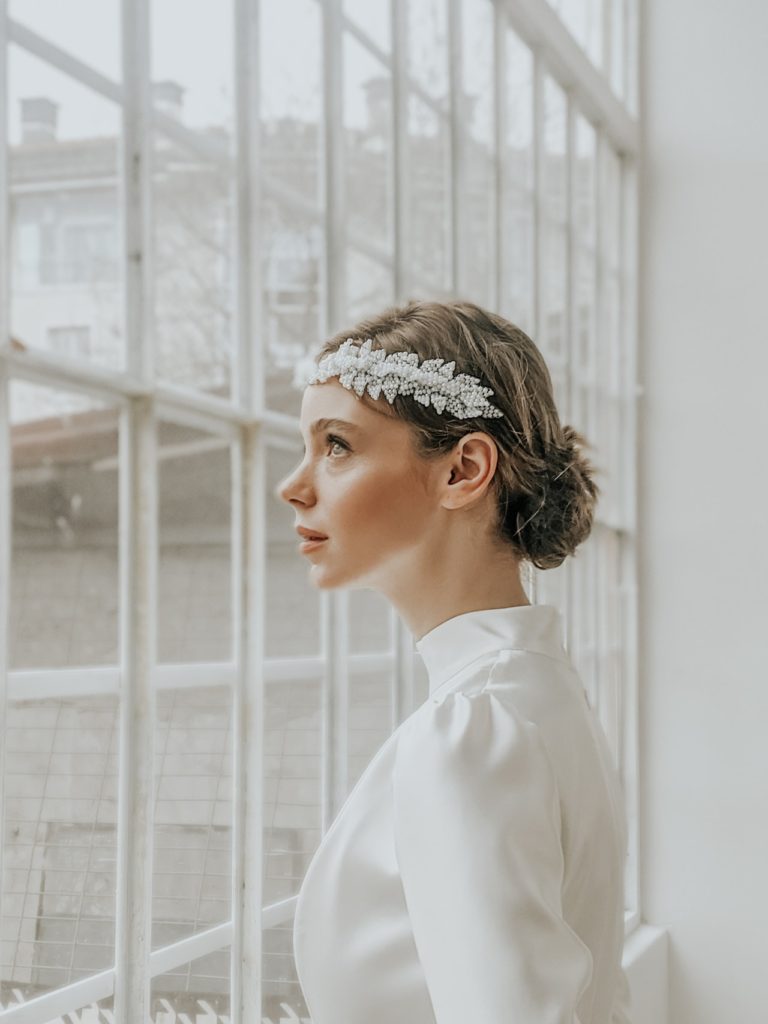
If the subject’s face can be evenly illuminated by light from the sky, a natural and beautiful lighting effect can be produced. In this photo, the woman is standing in the doorway, facing the backyard. The sun is on the opposite side of the house, and all the light comes from the clear sky. In fact, she has a light pad tied around her waist. The lighting effect is soft and uniform.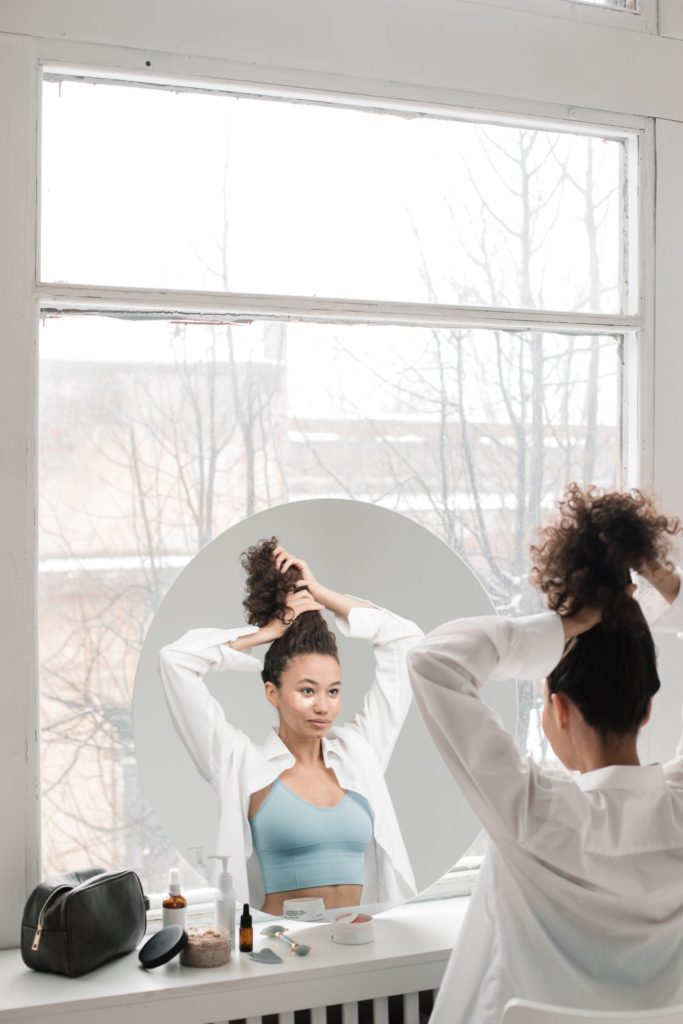
One problem with this natural lighting is that its light tends to be too strong, making the subject uncomfortable. The subject tends to squint into bright light, especially when using a fill light. To solve this problem, the subject can close his eyes and only win the eye at the moment of exposure.
Another thorny issue is the reflection in the eyes. The vast sky constitutes a huge soft light source, so the highlights or reflective areas in the eyes are divergent, which gives people a monotonous feeling of lifelessness. Please note that to make the eyes vivid, an easy way is to add some bright reflective areas.